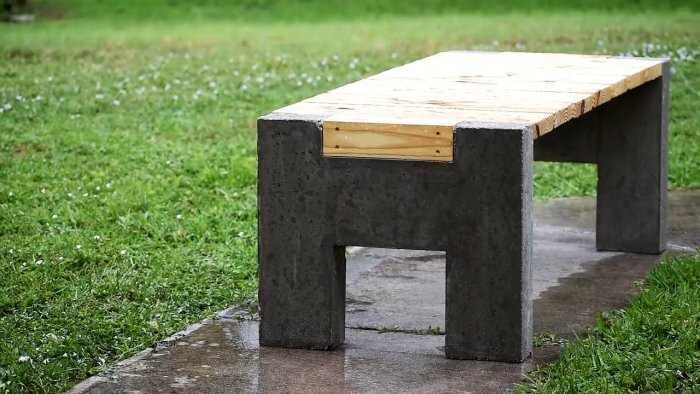
DIY outdoor bench made of concrete and wood 2022
For the manufacture of an outdoor bench in the courtyard of a house or in the country, various materials are suitable. A practical, inexpensive and elegant combination of wood and concrete. And with this work, in principle, any adult will cope.
It will take
Before proceeding with the implementation of the planned project, we will prepare the following materials and products:
- Chipboard with melamine coating;
- pine board;
- ready-made cement-sand mixture;
- reinforcement with a diameter of 10 mm;
- screws various;
- metal corner brackets;
- ready-made mixture for sealing joints in the formwork;
- colorless moisture resistant varnish;
- construction cord, etc.
To work on the bench, you will need the following tools and fixtures: a circular saw for wood and metal, a grinder, a clamp, a reciprocating saw drive, a drill, a screwdriver, sandpaper, a brush, a ruler and a marker, a container (trough), a shovel, a trowel.
The process of making a garden bench
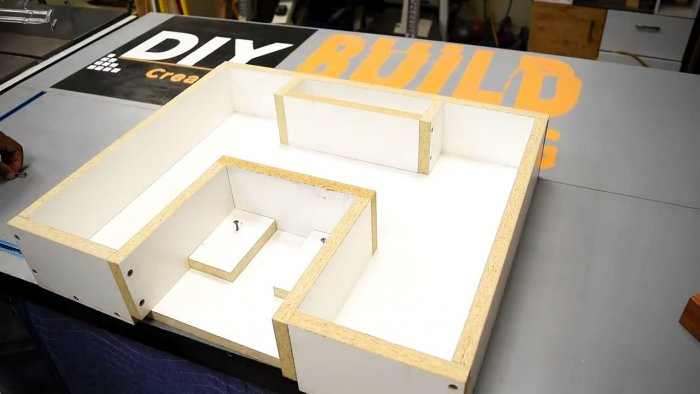
We begin work with the manufacture of two identical formwork for concrete legs. To do this, we divide the melamine sheet with a portable circular saw into two halves.
Then we dissolve each of them on a stationary circular saw into the necessary elements of two units.
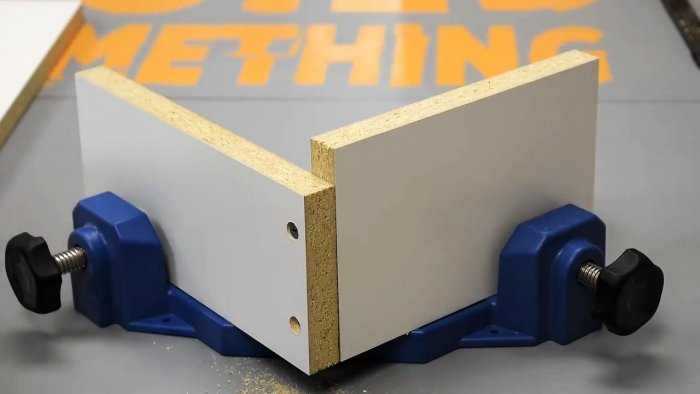
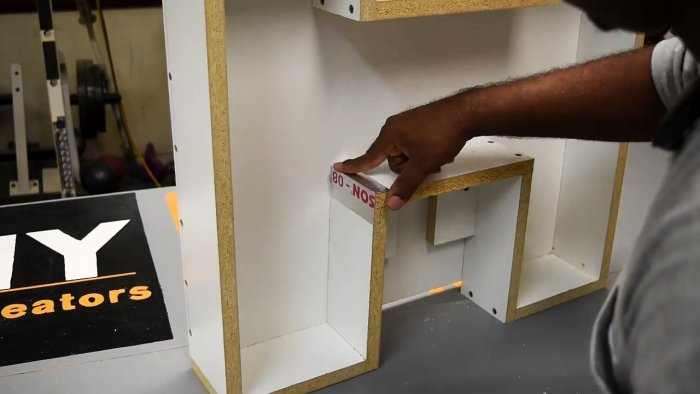
We assemble the formwork using clamps, a drill, a drill and screws, taking measures to increase their strength and rigidity.
So that the concrete mixture does not stick to the protruding corners of the formwork when it dries, we glue them with a special tape.
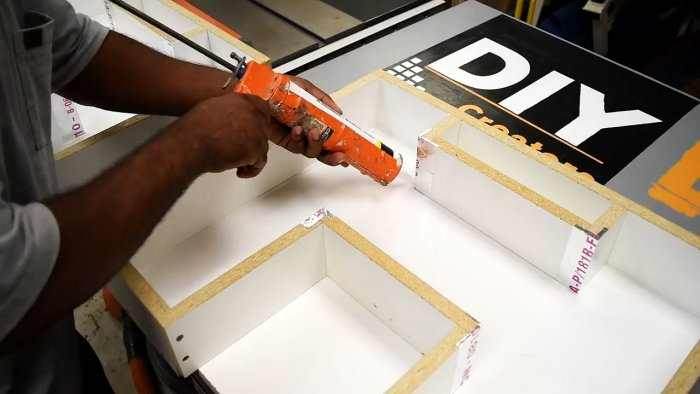
We wipe the formwork for the legs of the bench from the inside with a damp cloth to remove dust, dirt and debris. We apply a sealant from a construction gun to all joints and smooth it with a special profile.
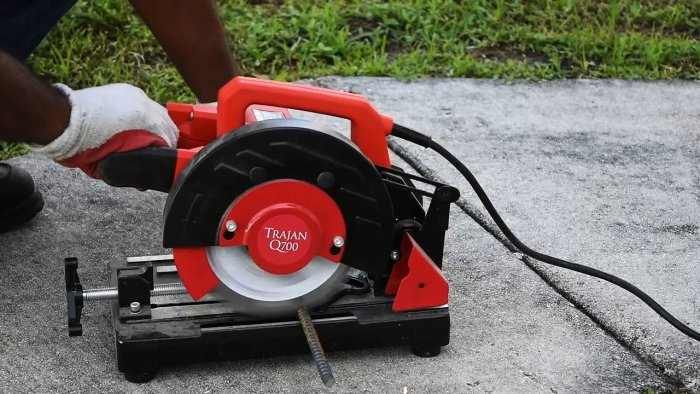
To strengthen the concrete legs, we use 10 mm rebar, cutting it along the length with a pendulum saw.
We mix the concrete solution and fill the formwork with it.
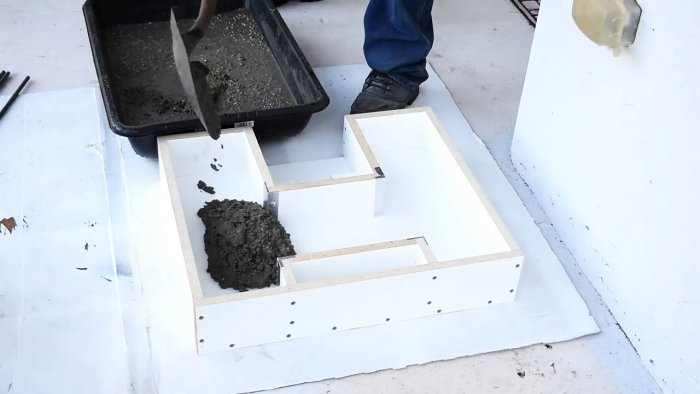
When they are half filled, we put the pieces of reinforcement into the solution and shake the formwork, placing a flat halyard under the base from the edge, manually.
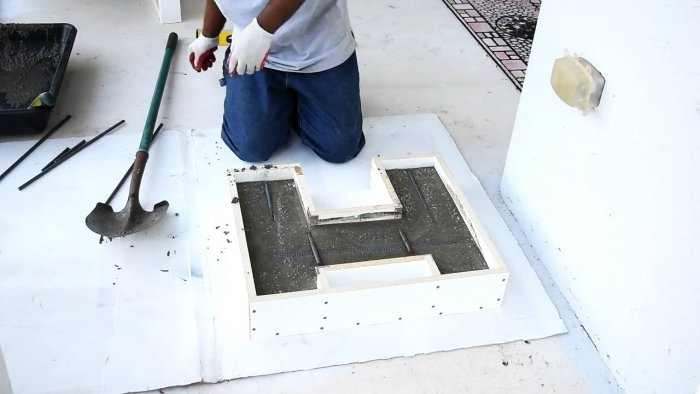
We fill the formwork completely and to remove the air remaining in the solution, we vibrate the side walls of the formwork, acting on them around the perimeter with a reciprocating saw drive.
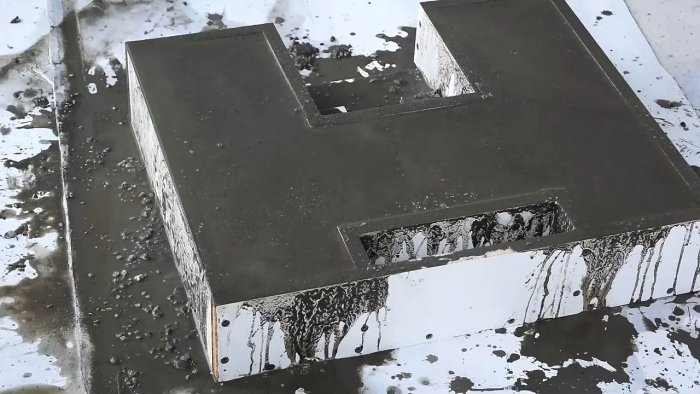
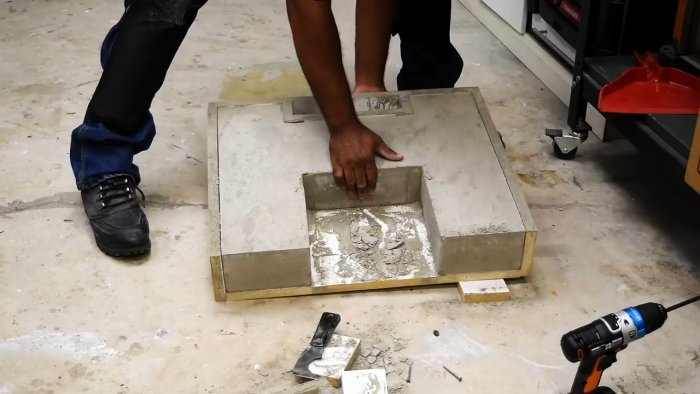
Now we leave the formwork with the poured concrete solution for one week alone, until it hardens. Then we disassemble the formwork, unscrewing the screws with which they were fastened, and install the legs in the right place.
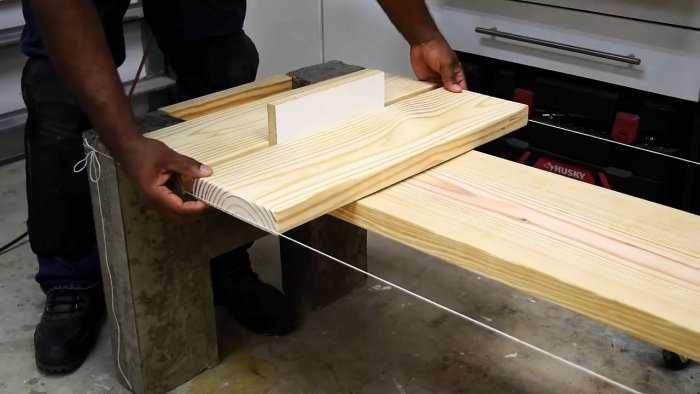
In the upper shallow, but wide grooves of the legs, we lay the longitudinal board of the seat, making sure that there is a small gap between the walls of the groove and the board to compensate for the thermal expansion of materials.
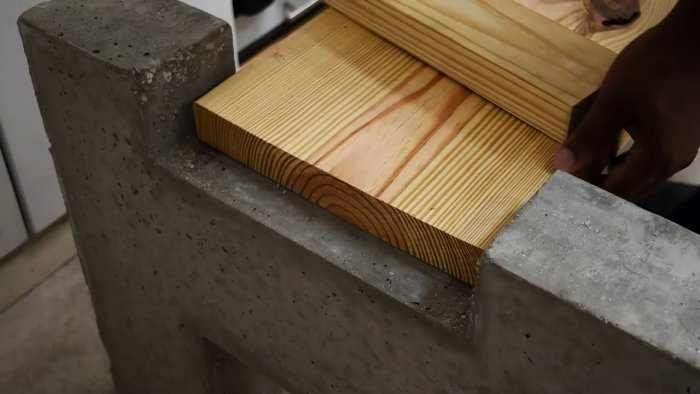
In the groove flush with the outer side of the leg, right next to the end of the longitudinal board, we install the transverse one.
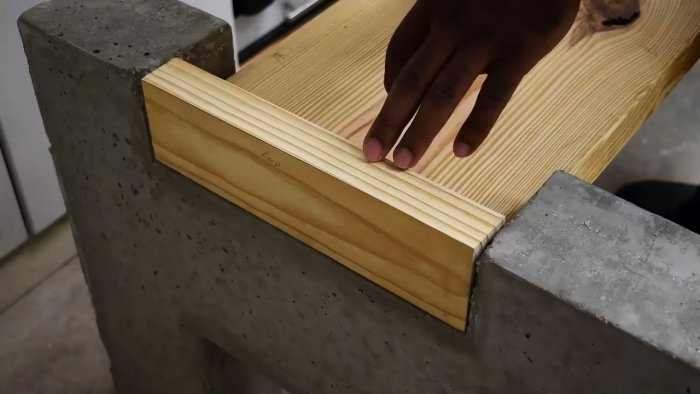
We do the same on the other side. We cut off the longitudinal board along the transverse line, stepping back from the outer edge of the concrete base the width of the wooden insert.
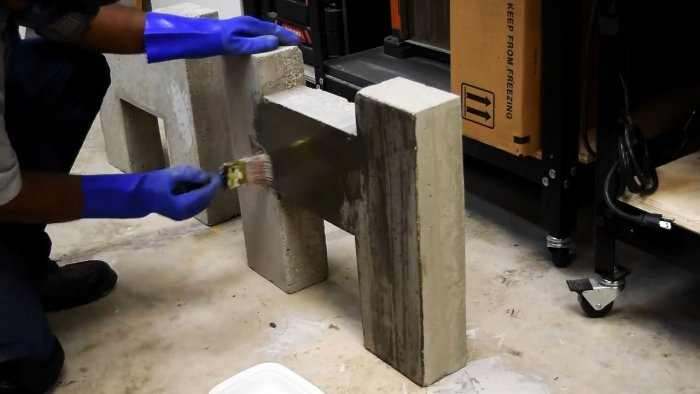
We remove the wooden elements of the seat and clean the legs with sandpaper, removing irregularities, rounding corners, edges and sagging.
To protect concrete legs from moisture, we cover them with organosilicon enamel. After letting it soak in and dry, paint the concrete black or another color.
We process the boards with a grinder and sandpaper until all burrs, roughness are removed and the edges are rounded.
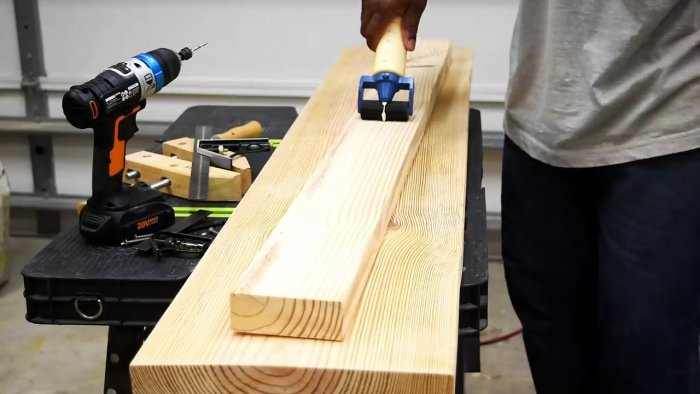
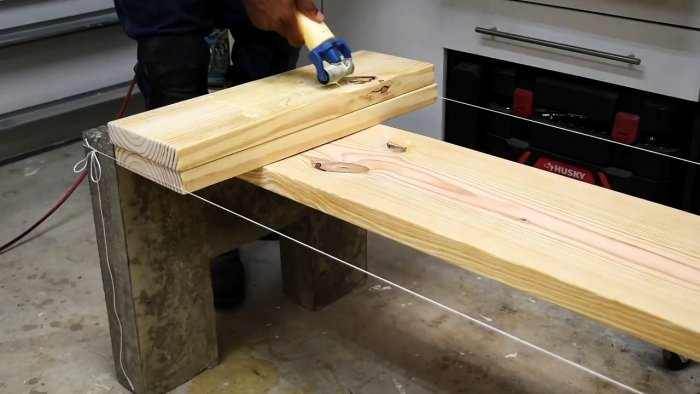
From the bottom of the longitudinal board, for its strengthening and stability in the middle, we glue and fasten the board with screws narrower, but of the same thickness, which with its ends will rest against the concrete legs.
We tie the concrete legs with tension with a construction cord and lay them across, lubricating the place of contact with the longitudinal board with glue, the seat elements with a gap equal to the thickness of the melamine bar (20 mm) between the threads of the cord.
Starting from the second, and to the last, we fix the transverse elements with clamps, and fasten them from below with screws.
We do not glue the two extreme transverse elements of the seat, because they will be removable. To do this, we attach bars to them from the end in the middle on three recessed screws.
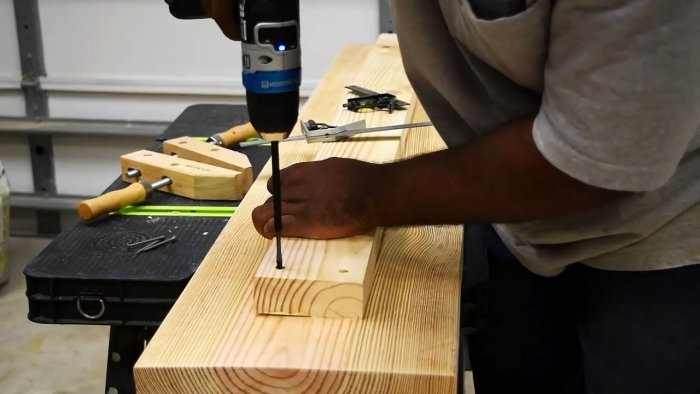
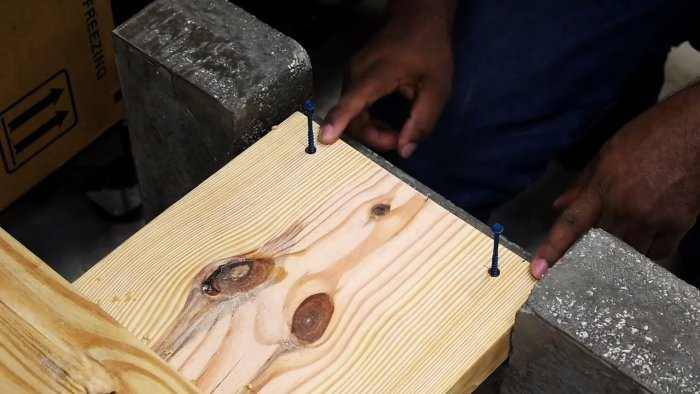
On the longitudinal board of the seat on both sides, we prepare places for two long screws, which will be screwed into the concrete after the bench is installed in its place.
We close the ends of the transverse beam and the longitudinal board with a wooden element and fasten it with four screws.
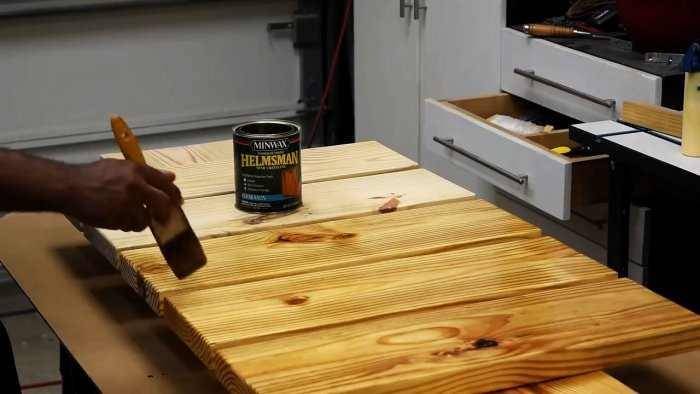
We cover all wooden parts of the seat top and bottom in two layers with urethane varnish to protect against moisture, sun and cracking.
After installing the concrete legs in the right place, we return the wooden seat without the extreme crossbars to its place and screw in two screws to the stop into the places prepared for them in the longitudinal board of the seat.
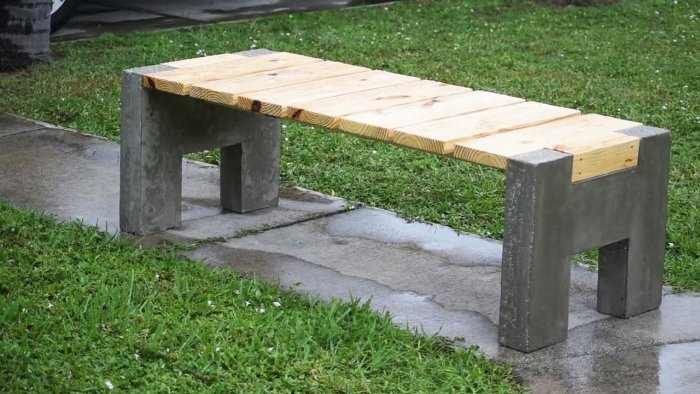
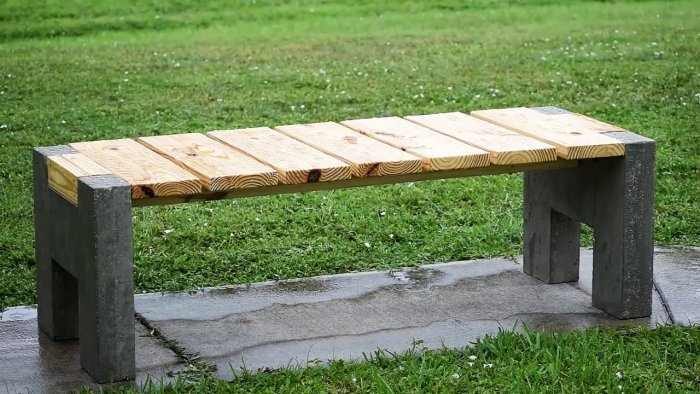
We put in place the extreme transverse elements of the seat and the bench is completely ready to perform its functions.
By the way, the seat can also be attached to concrete legs using metal corners, attaching them from below with screws to the reinforcing beam and the sides of the legs.