

DIY simple charcoal mini grill 2022
Hello dear readers!
Surely, most of you, with the word «barbecue» or «grill», imagine a fairly large device designed for use on a personal plot.
However, there are situations when using a full-size grill is impractical — for example, to cook a small amount of meat or vegetables.
In this article, Alexander, the author of the Master Sh YouTube channel, will tell you how he made a compact version of the grill that can be placed on an outdoor table, used for cooking near a garage or workshop.

This project is very easy to build, although it will require a small amount of welding work.
Materials needed for homemade.
- Old powder fire extinguisher
- Loops
- Bolts, nuts, steel strip
- Steel profile pipe 15×15 mm
- Set of springs
- High temperature spray enamel
- Grinding belts.
Tools used by the author.
- Bulgarian
- Belt sanding adapter for grinder
- Screwdriver
- Welding machine
- Magnetic corners for welding
- pliers, wire cutters
- Vice, square, marker, oiler.
Manufacturing process.
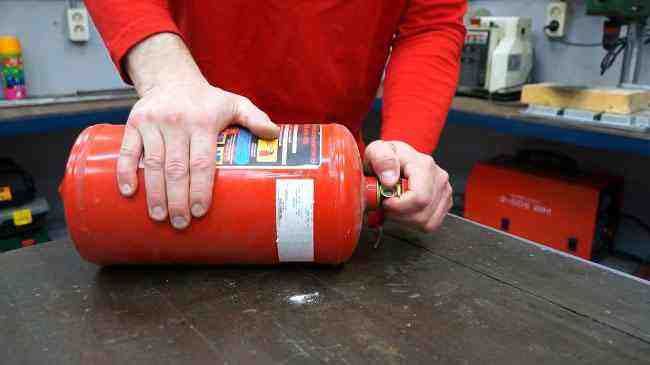
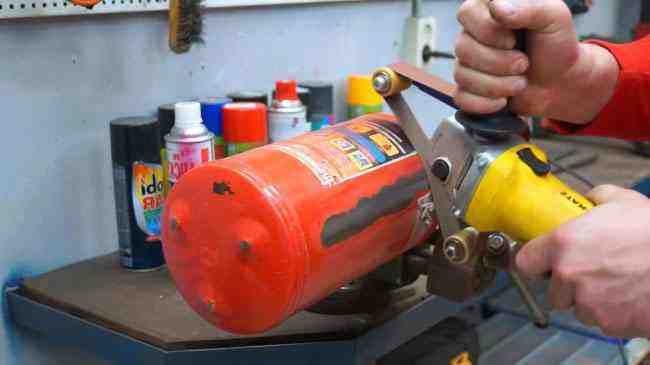
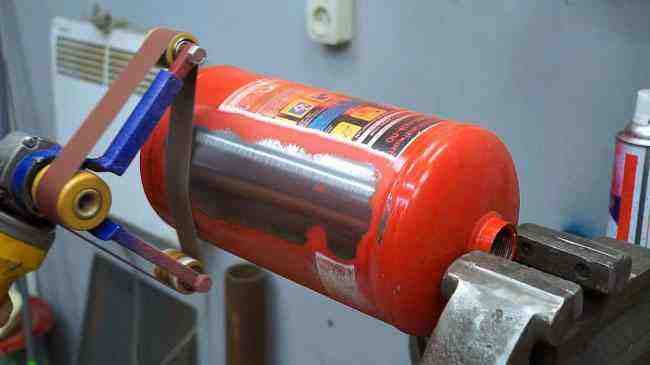
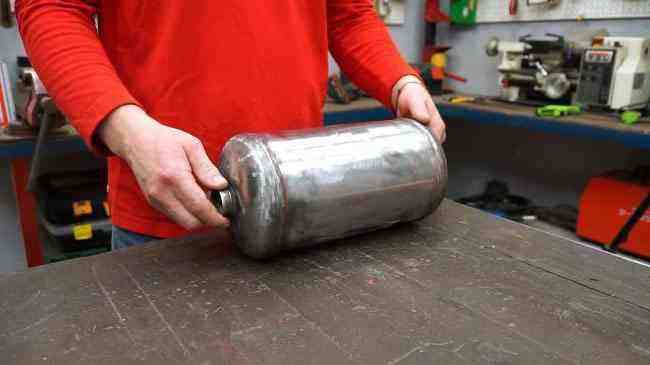
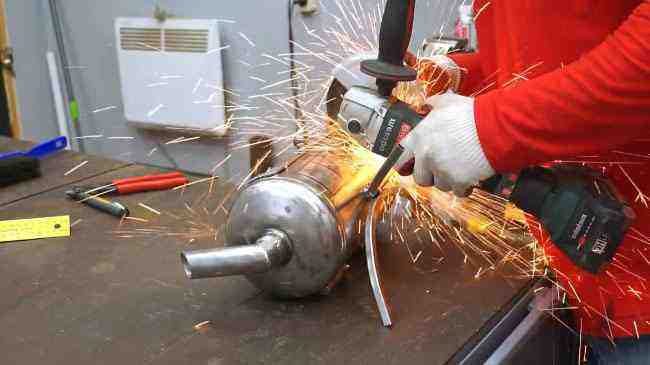
So, the main material for this homemade product will be an old powder fire extinguisher. At the end of the warranty period, or use, they are very often simply thrown away.
In any case, before any action with it, you first need to make sure that there is no pressure in the cylinder, and press the lever in control (in the open air).
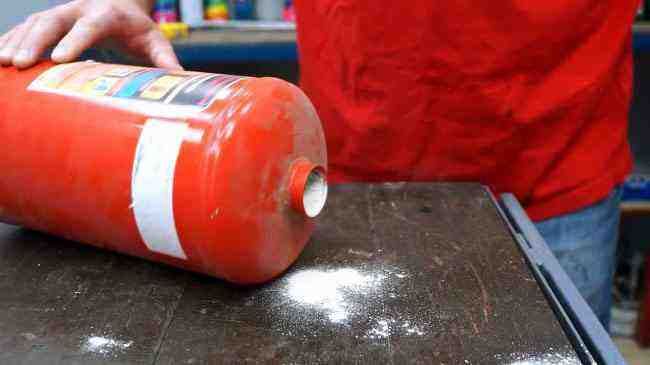
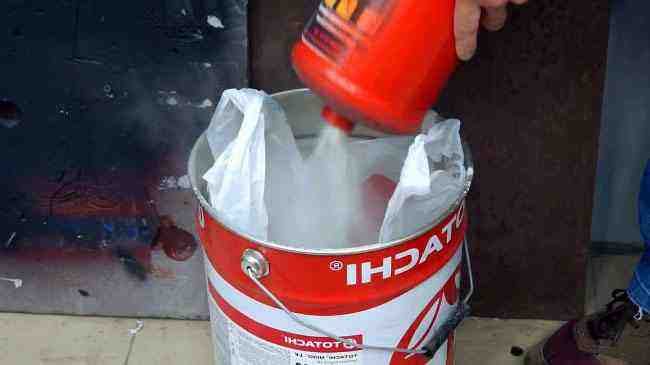
Next, the valve is unscrewed from the cylinder, and the remnants of the powder are poured out.
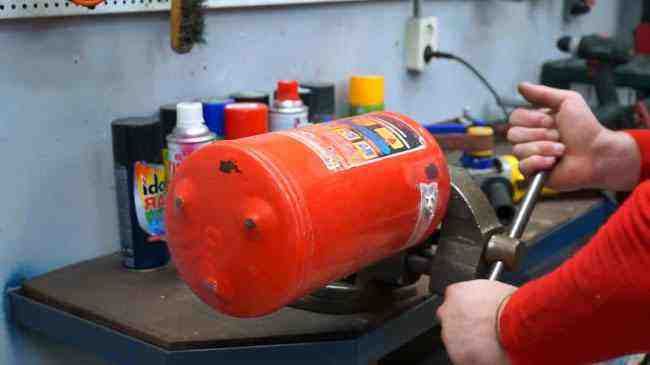
To remove paint from a container, the master uses a grinder with an adapter for a sanding belt. This device can also be made independently, which was described in detail in a recent article.
In addition to the belt adapter, the abrasive “coral” grinding disc does a good job with such tasks.
As a simplified option, you can simply burn an empty and open cylinder in a fire.
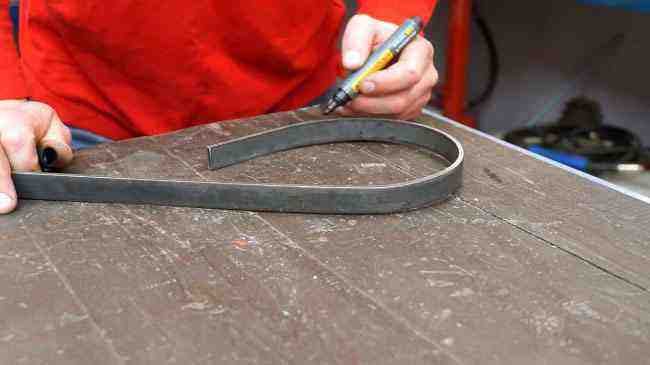
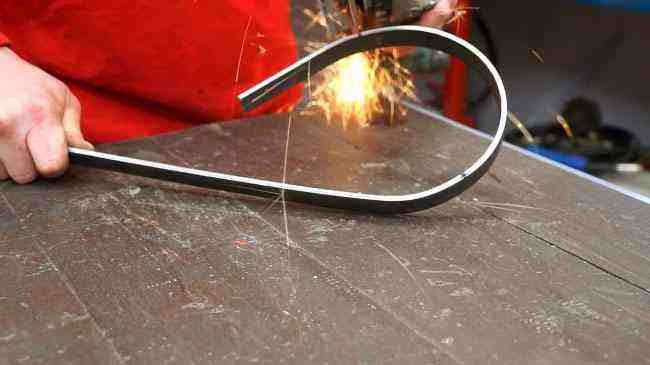
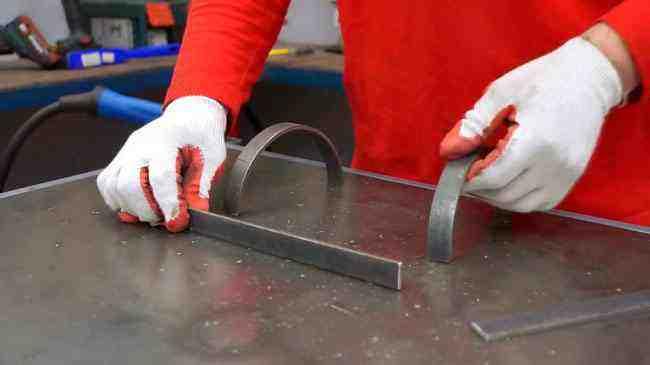
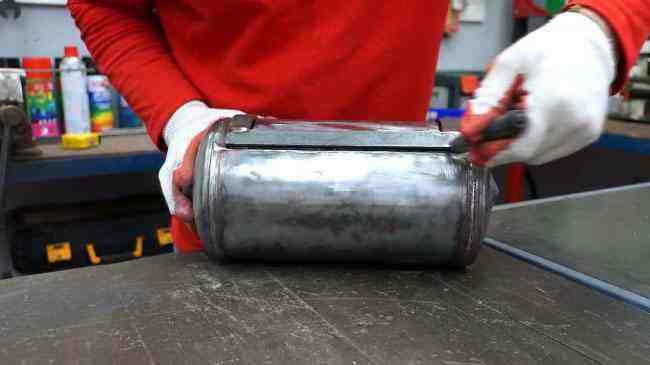
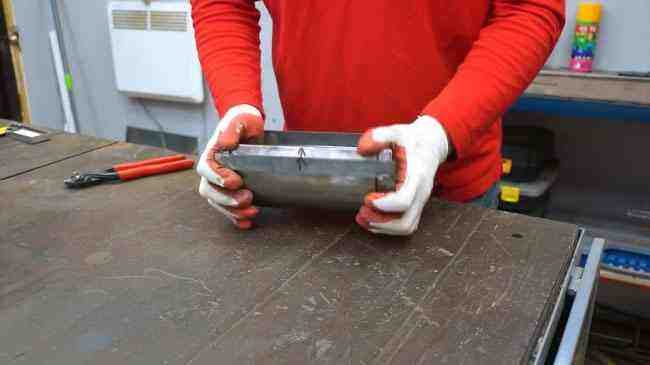
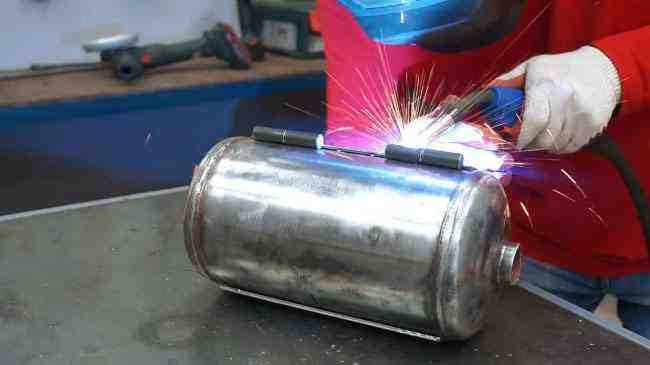
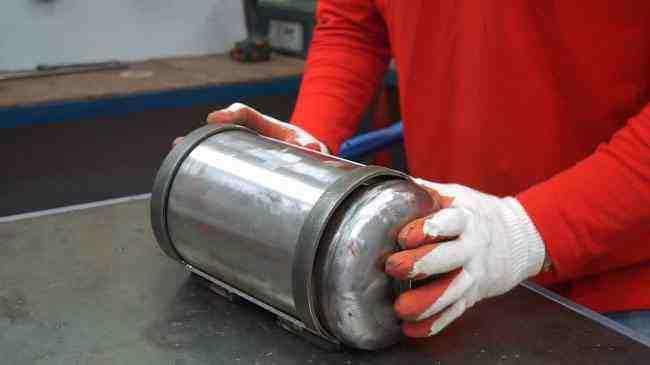
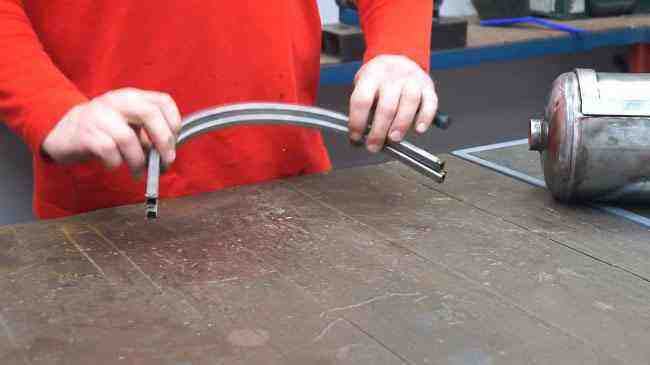
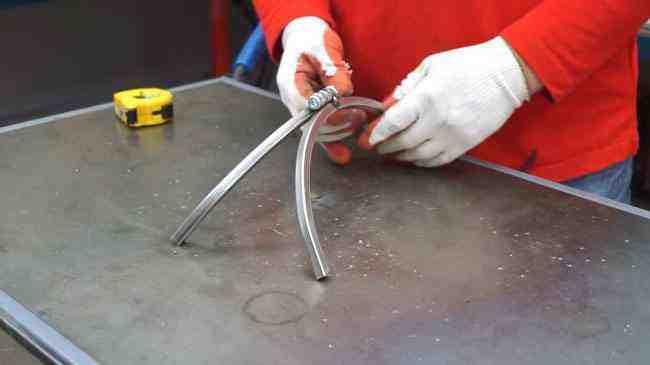
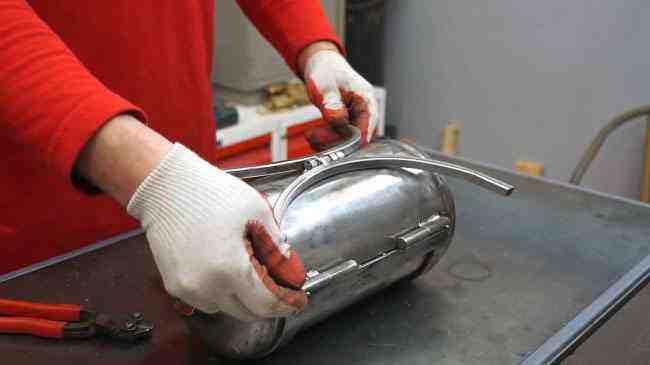
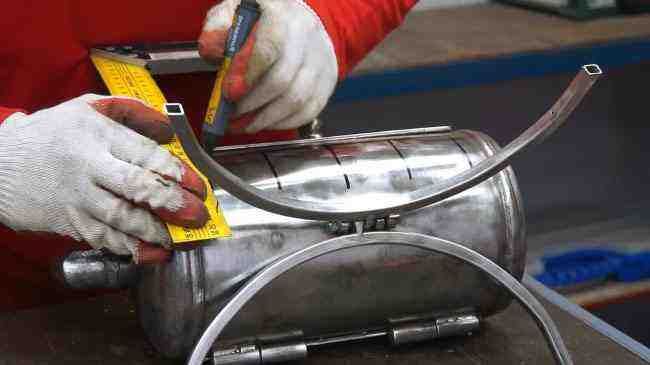
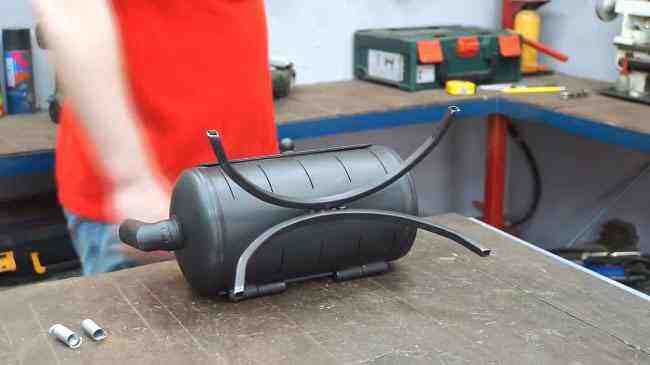
The craftsman uses a 30 mm wide steel strip as overlays covering the gaps between the lid and the body.
Since the edges of the future cover are arched, the strip should also be bent beforehand.

The first two arcuate overlays are cut out of the obtained blanks.
Both parts must lie freely on the wall of the cylinder.
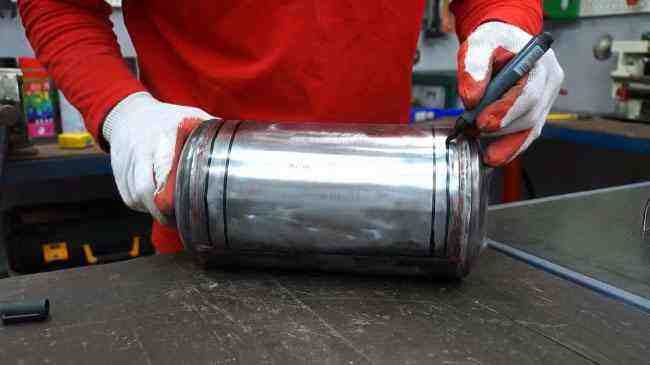
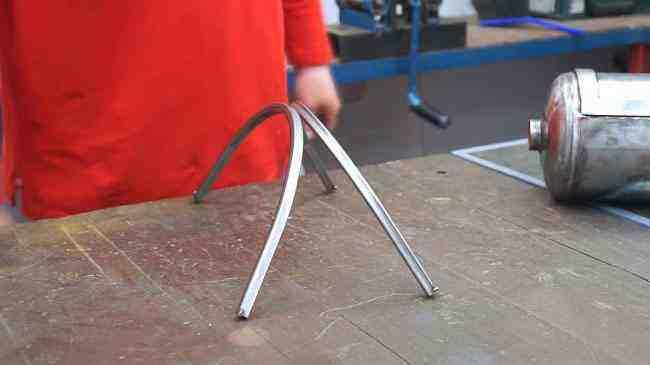
Having aligned them, you need to measure and cut off two strips of the same length.
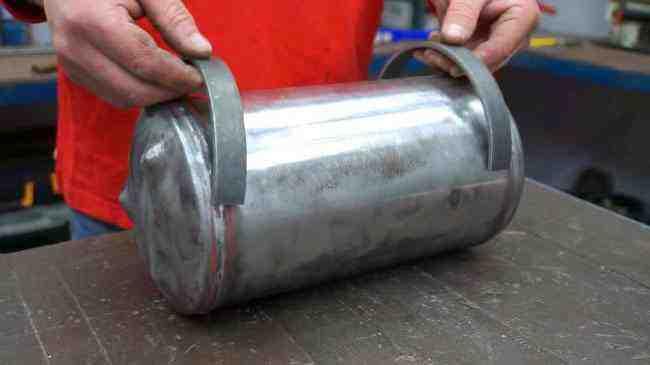
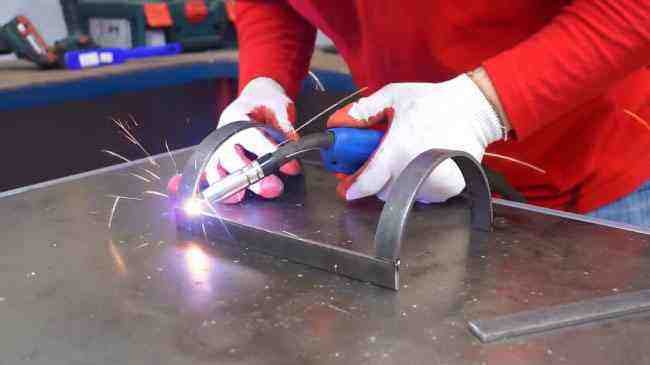
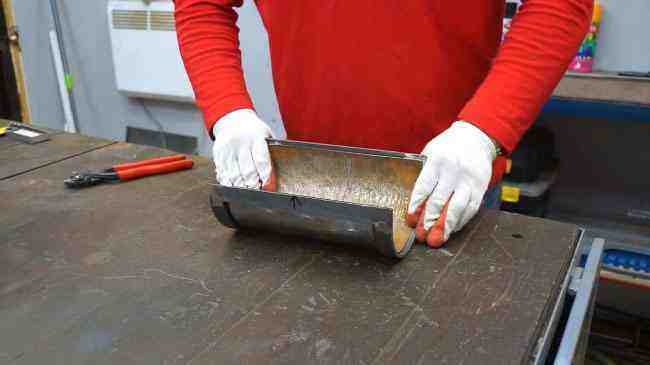
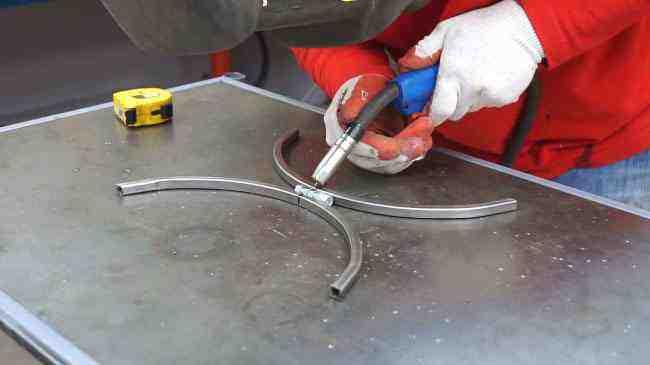
Now a patch frame is welded from the received parts.
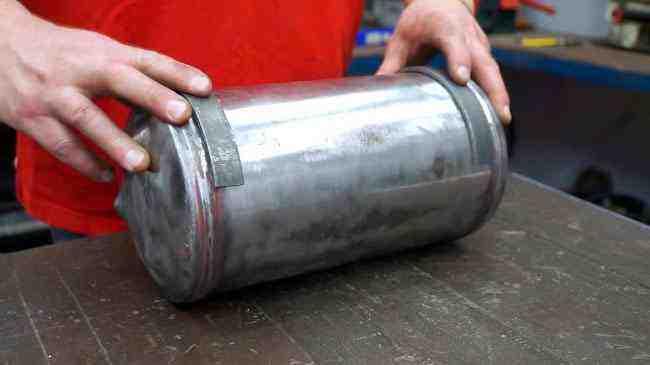
Attaching the frame to the balloon, the author marks its inner and outer contours.
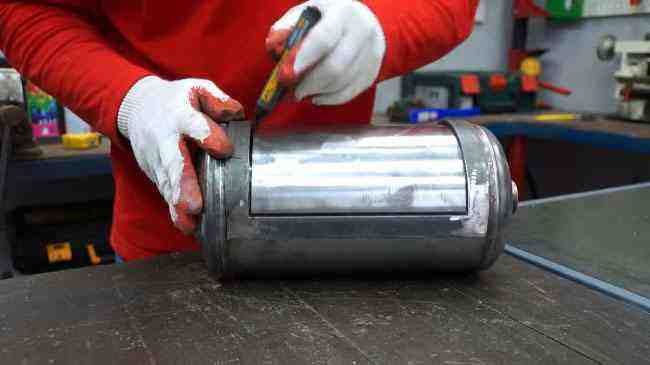
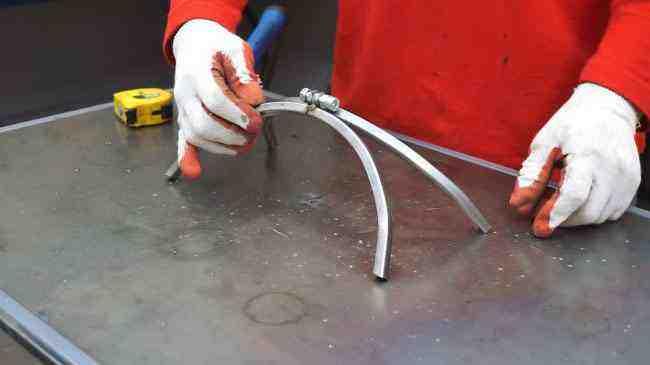
In the middle between the resulting lines, cut lines are marked.
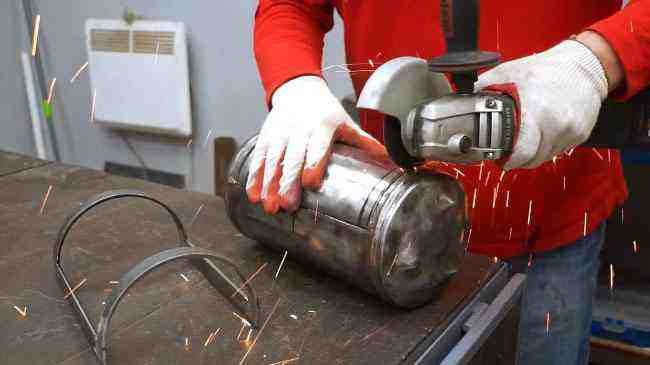
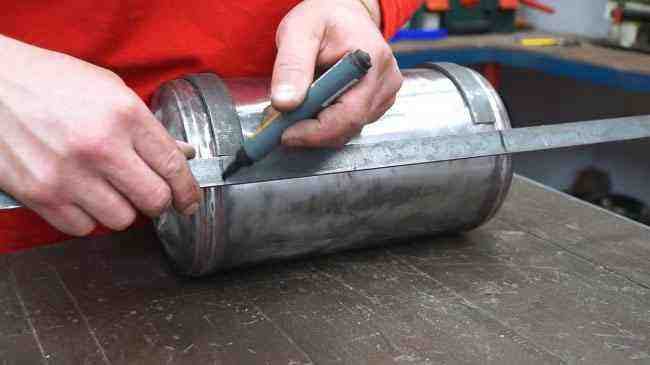
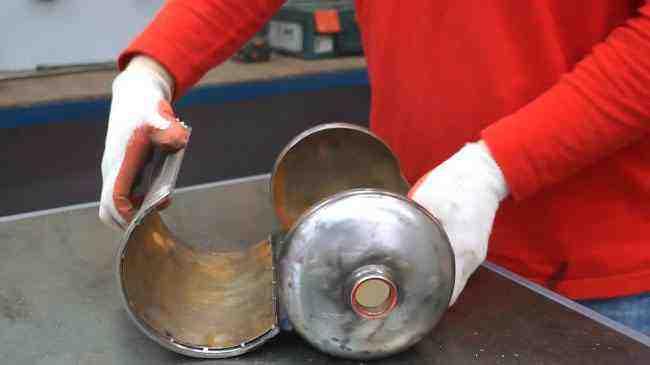
When cutting the cover, mark its position so that there is no problem when installing it back.
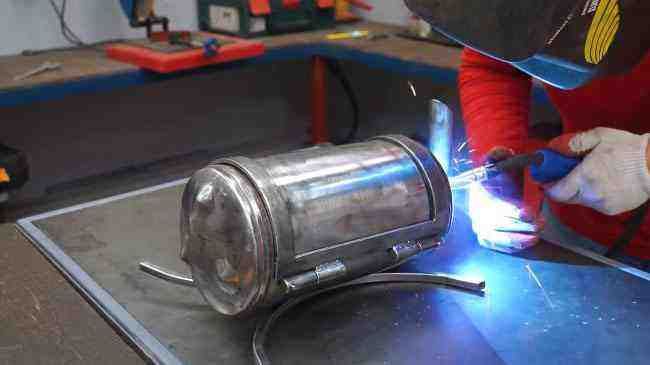
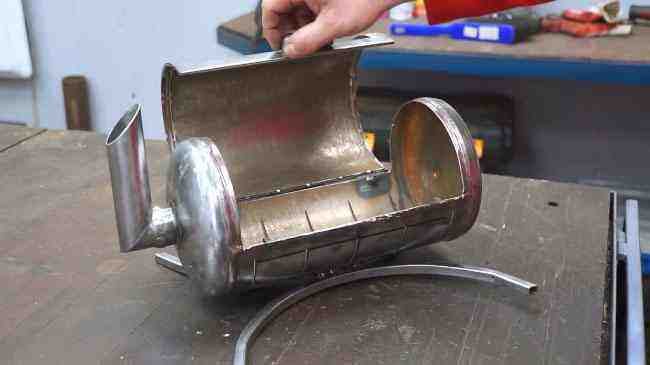
Then the frame is connected to the cover.
Both parts are tack welded at only a few points.
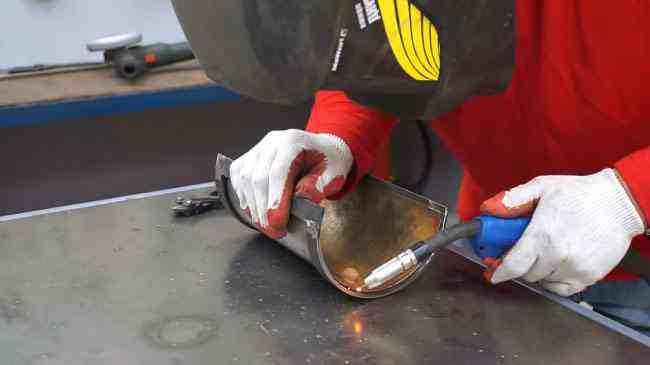
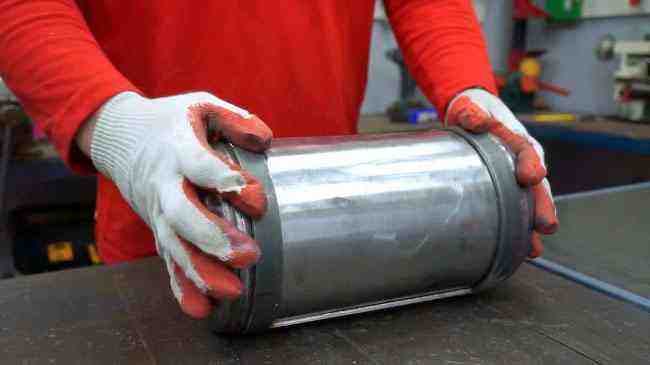
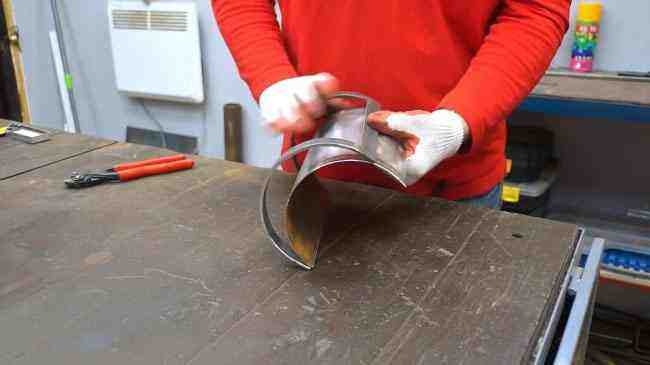
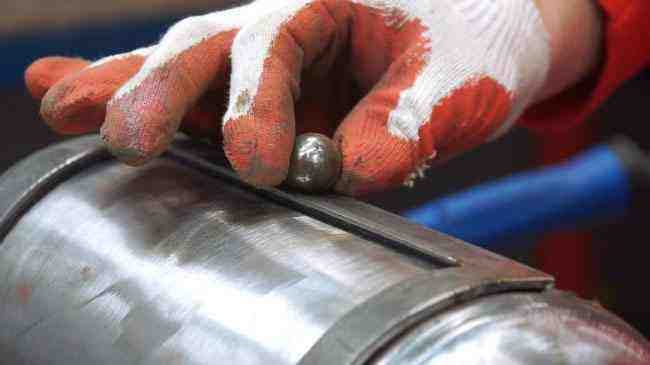
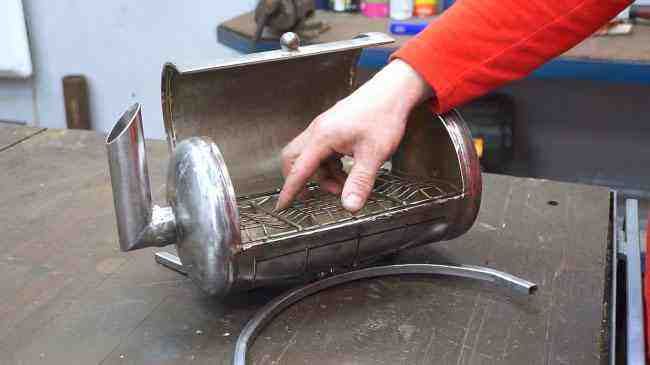
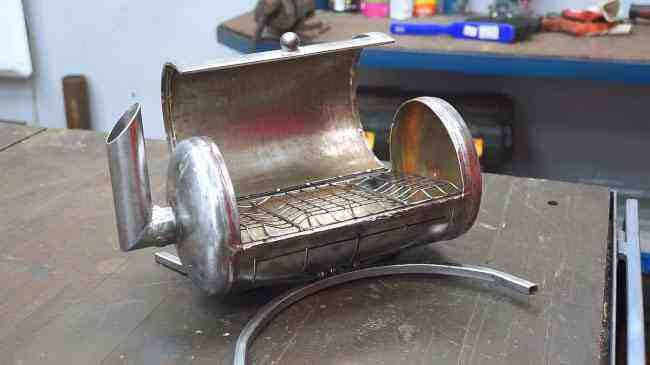
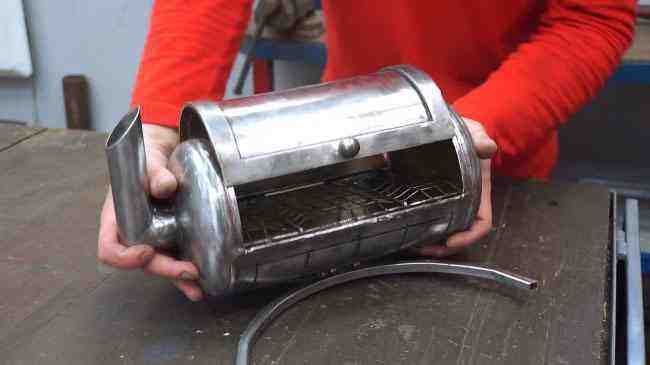
Focusing on the marks, the cover is installed on the body, and the elements are connected to each other by a pair of ball loops.
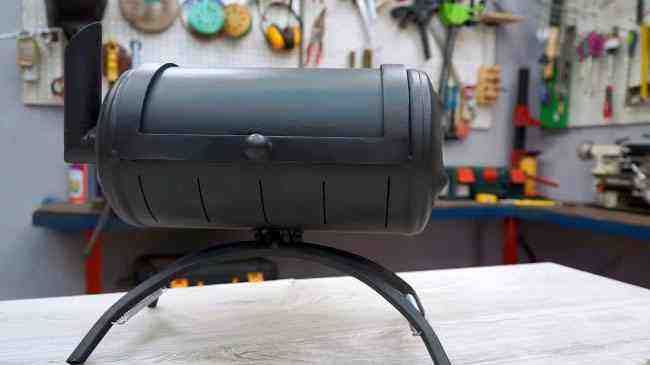
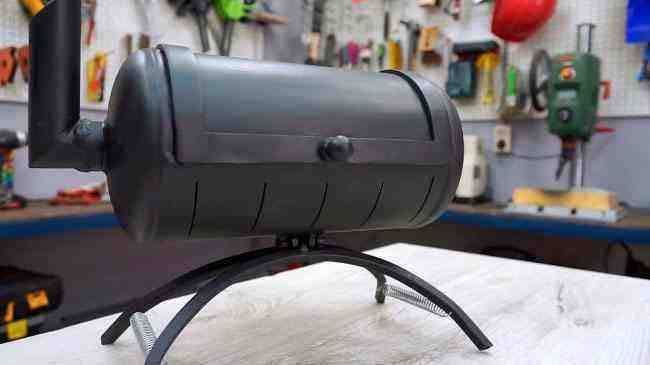
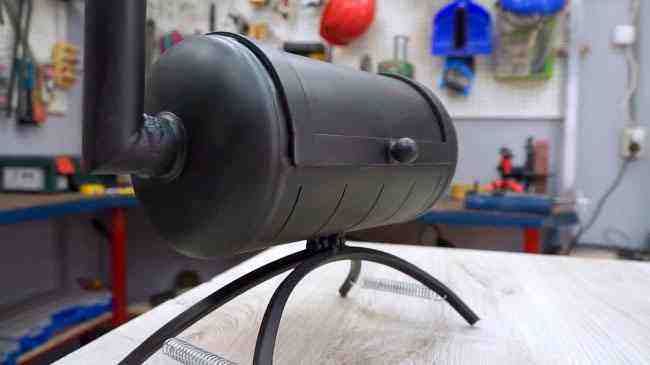
As a handle, the author welds a steel ball to the lid.
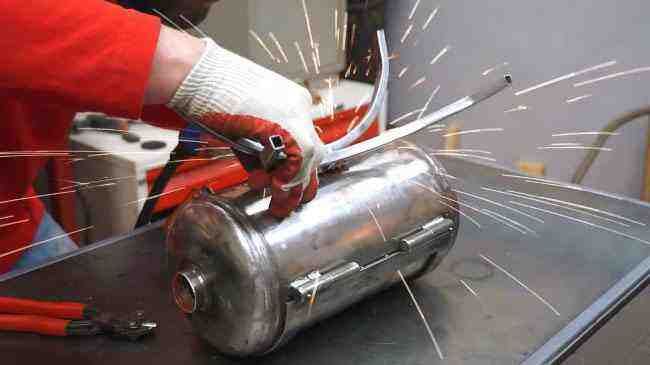
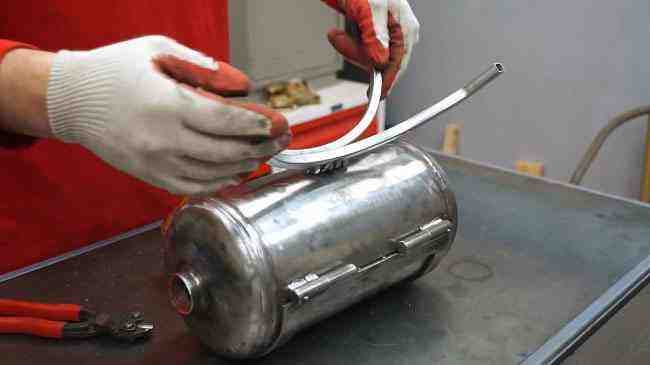
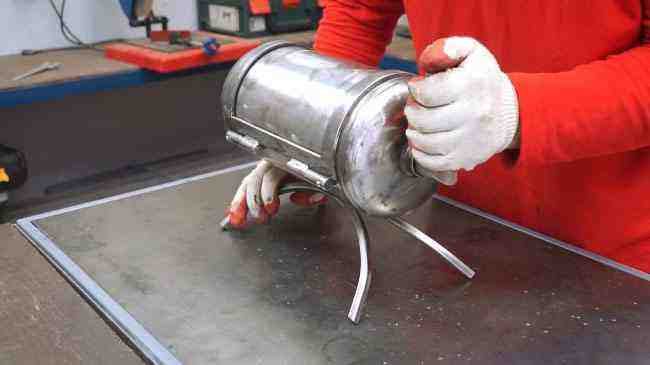
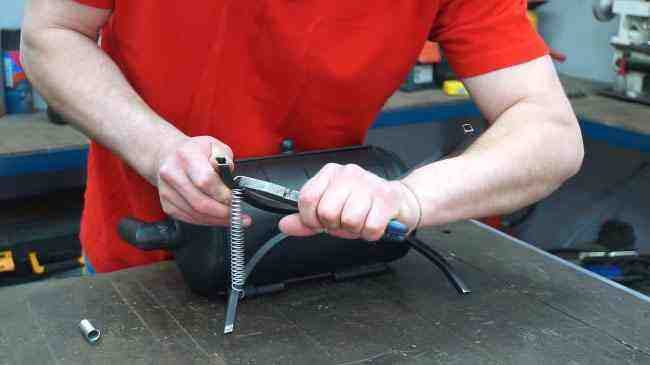
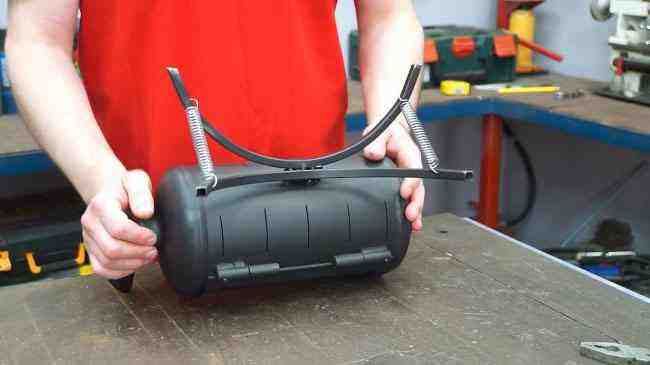
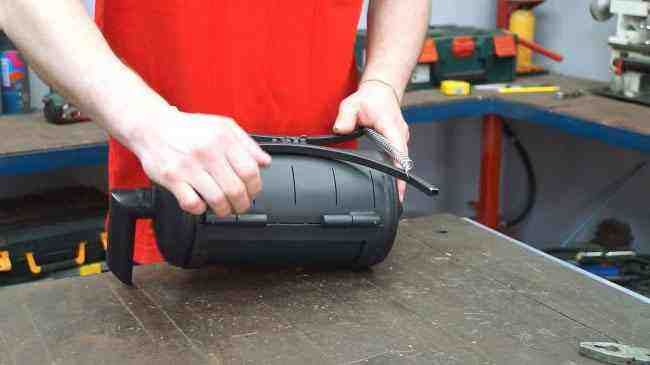
The structure will be supported on two legs. Their master makes from a pair of pieces of a square profile pipe, bending them in the form of arcs.
The m10 bolt will serve as the axis connecting both legs, and several nuts will act as a loop.
Having marked the center on the bottom of the grill, the master welds the nuts at this point that hold the axis of the legs.
During the welding process, you need to control that the legs open in different directions.
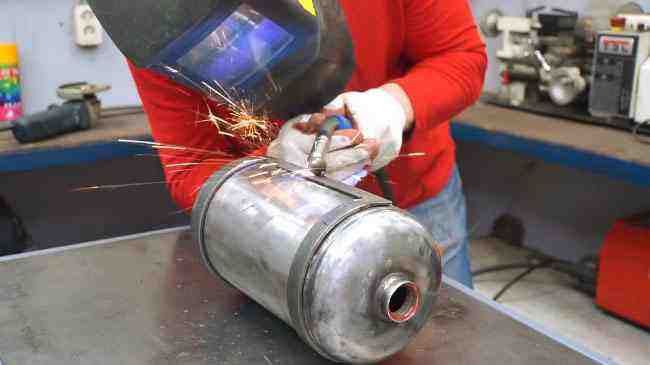
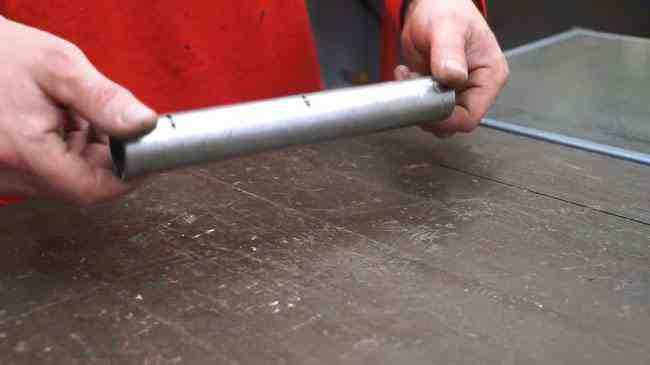
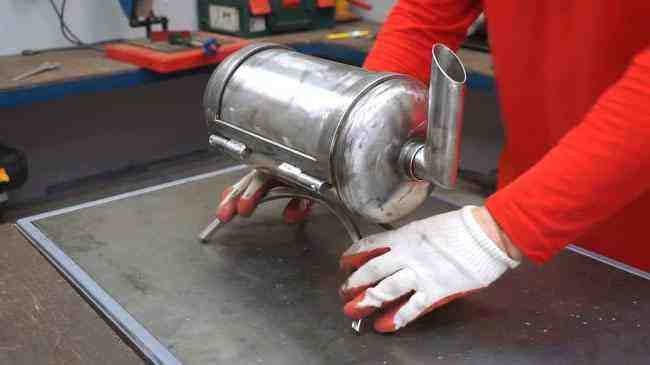
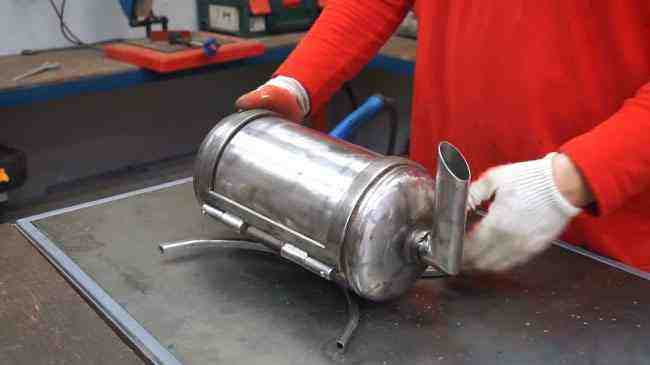
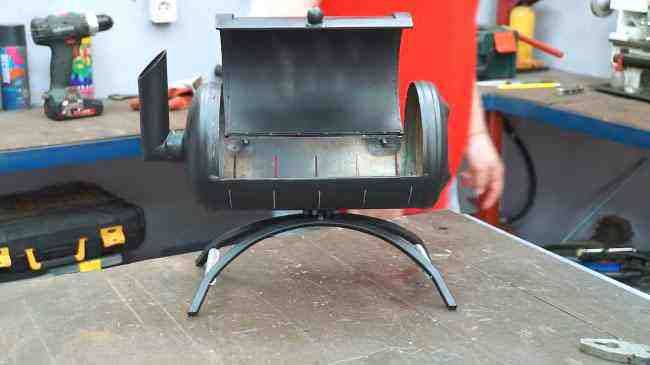
The craftsman made a simple L-shaped chimney from a piece of steel pipe. Its diameter is pre-selected to the neck of the cylinder.
At first, the chimney only clings to the body, this is necessary to adjust the position. Of course, it can be made removable if you find the right nut.
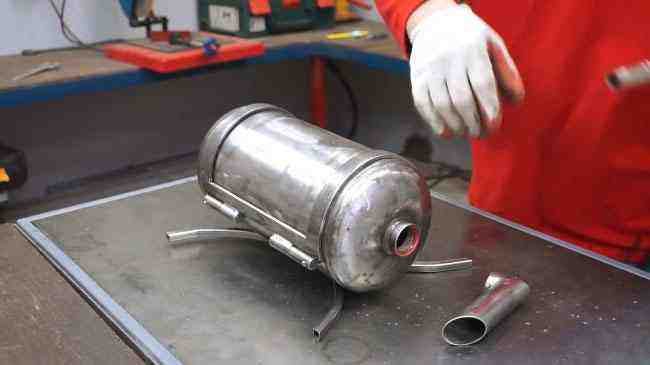
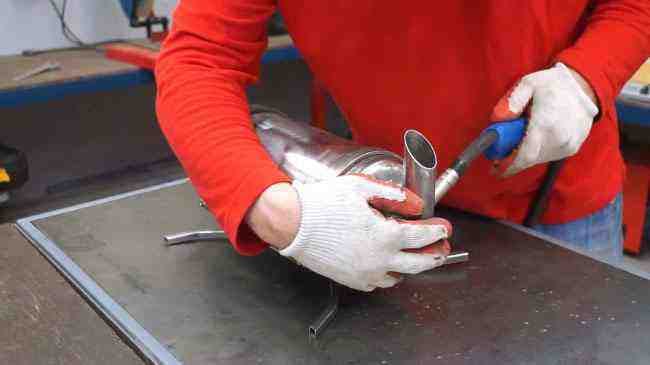
Having put the legs in the working position, the master corrects the pipe, and welds it to the body.
Further, two rows of parallel stripes are marked on the bottom, and cuts are made according to the marking. These will be the vents.

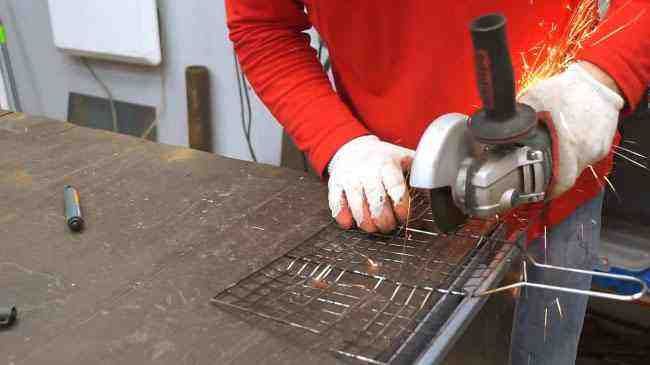
Given the size of the case, the craftsman cuts out a suitable grille and installs it in its place.
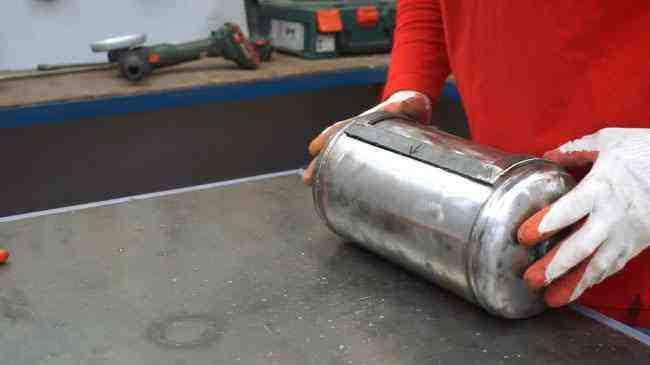
Almost everything is ready, you can degrease the surfaces, and apply a protective layer of high-temperature aerosol enamel.
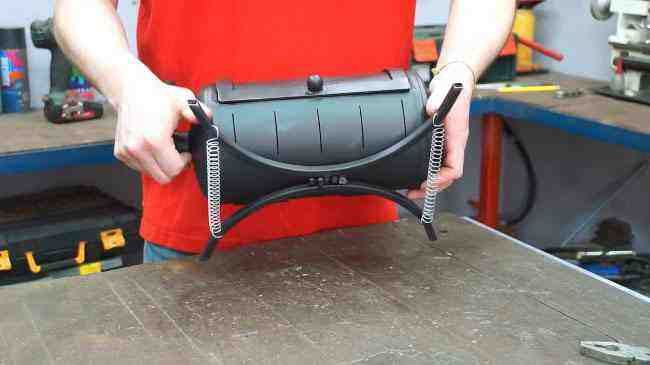
Stepping back a few centimeters from the edges of the legs, the craftsman drilled 2 mm holes in one wall, and now hooks the tension spring hooks onto them.
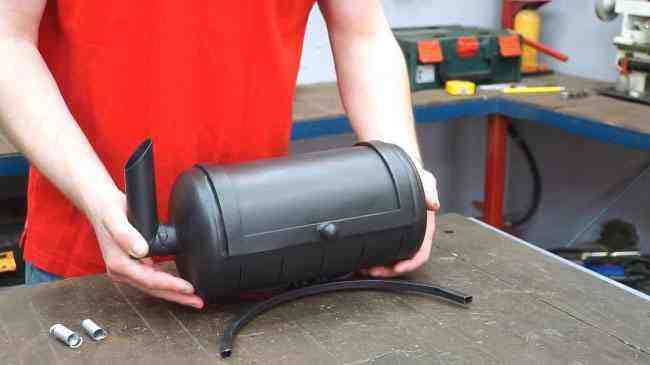
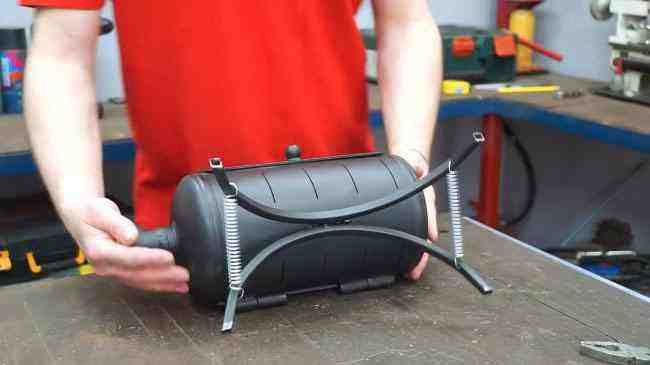
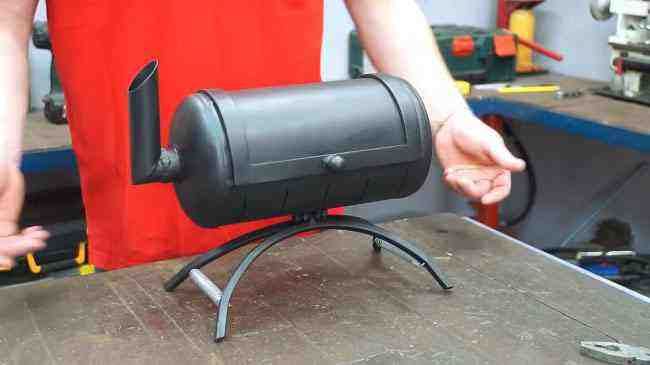
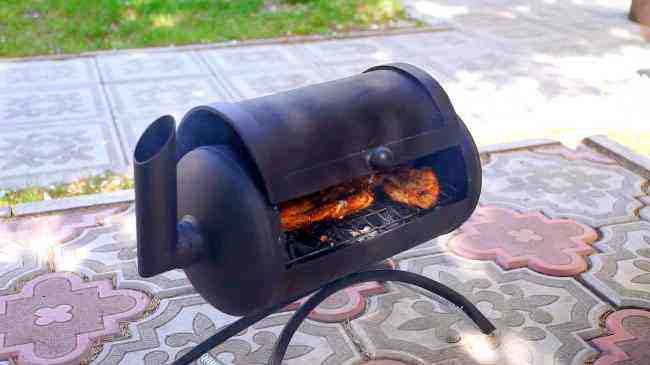
Now everything is ready. It turned out a compact brazier with folding legs.
It is recommended to do a control burn before the first use.
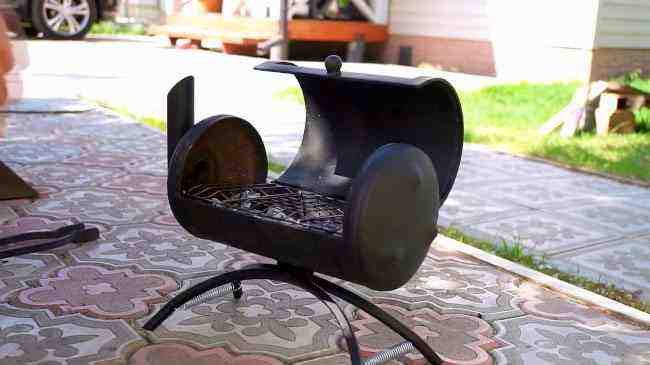
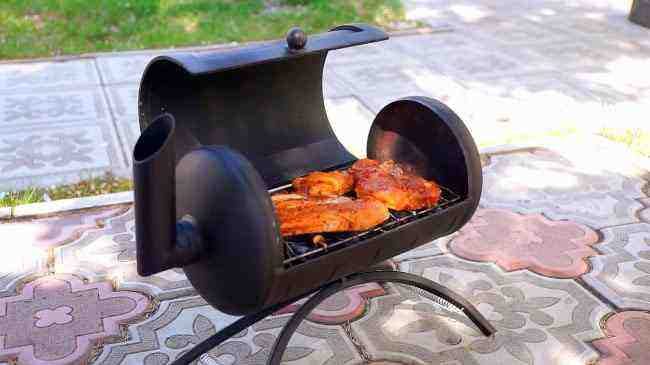

Such a compact grill can be carried with you in a car — it practically does not take up space in the trunk, and you can treat yourself to a hot dish on a long road. By the way, the whole set of firewood, coals, and lighter fluid will easily fit inside it.
All good mood, good health, and interesting ideas!
