

DIY Simple desktop with drawers
In this tutorial, I’ll show you how to make an inexpensive and simple desktop with drawers out of plywood, in which you can store tools and other things.
Functionality and design of the table
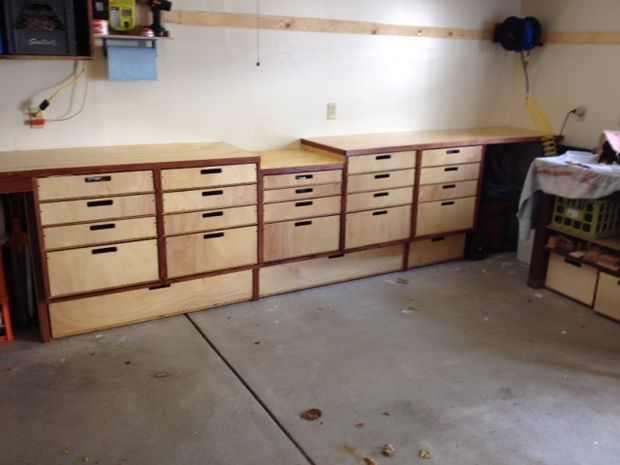
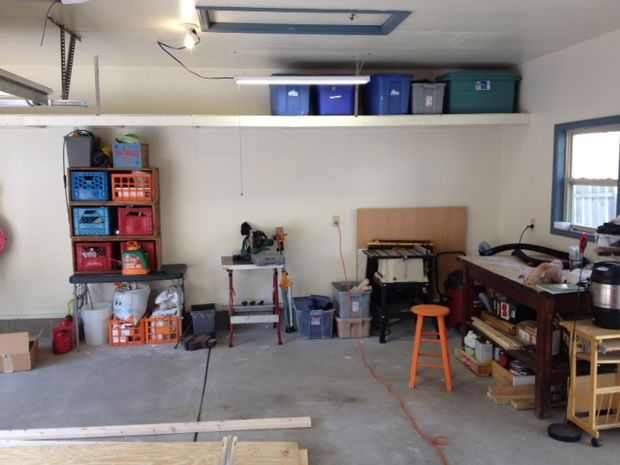
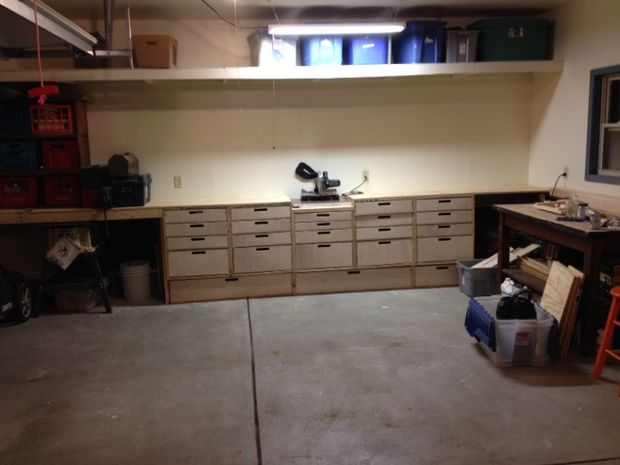
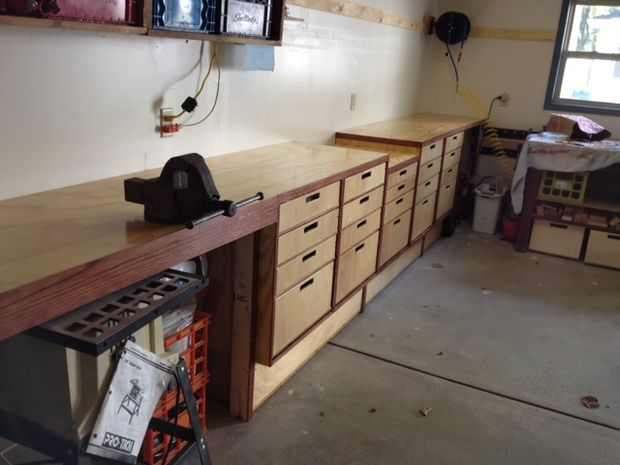
The six meter wall in my garage was perfect for setting up a desktop with storage drawers.
I need space for a miter saw and plenty of drawers to store tools and gardening supplies.
The desktop will be 1m high and 60cm deep.
The countertop will take up all the space between the walls, under it there is a place to store a lawn mower, snow blower, circular saw, vacuum cleaner and cyclone.
The desktop will consist of cabinets, each of which will have drawers. The open ends of the countertop will be framed with a 5 x 10 cm board.
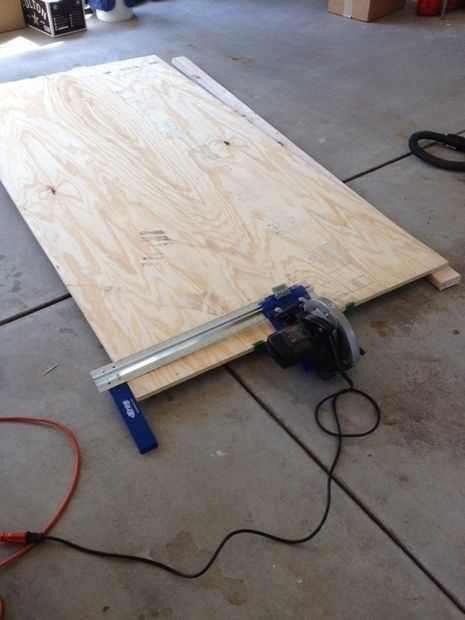
cutting plywood
Frame:
I used 2cm plywood for both the body and the top. 5 standard sheets will be enough to make 5 cabinets and a 6-meter countertop.
Using a saw with a plywood cutting disc, I cut each sheet of plywood into two strips: 60 and 240 cm.
The 3 most successful options I left for the top of the table.
From each part of the sheet, you can make the upper and lower parts of the cabinets. I planned to make 5 cabinets, so at the same time I cut the sides of the 70 cm wide. I also cut 60 cm of the top and bottom of the cabinets.
Drawers:
For drawers, 12 mm plywood was used, sanded on both sides. I also divided these sheets of plywood into two parts: 60 and 240 cm.
The bottom of each drawer is the same and is 60 x 60 cm. I cut 20 bottom pieces, and I left the rest of the plywood for making the sides.
Cutting guides for drawers
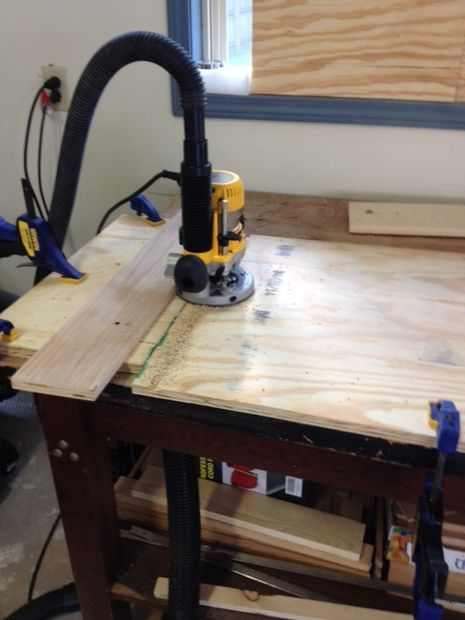
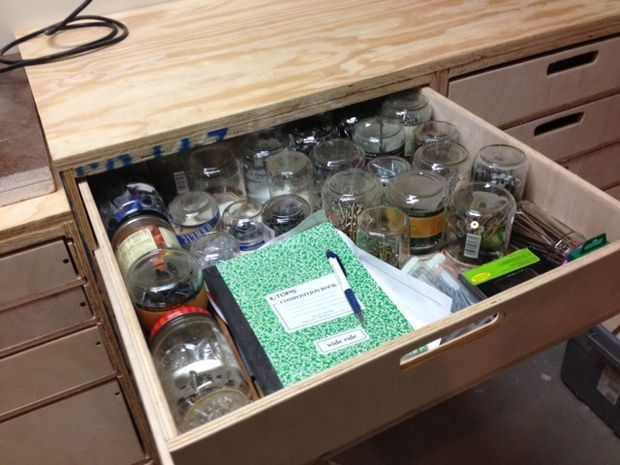
The table was designed in such a way that each cabinet has 4 drawers. 3 small and one deep for voluminous things.
To cut the guides, I used a router with a cutter that plunges only 12mm.
The first groove is cut 3 cm above the bottom edge in the inner side of the cabinet. The remaining three are equidistant 13 cm from each other, while the top one is located at a distance of 15 cm from the top edge. I made a template that you can use to guide the router so that the grooves are the same in all cabinets.
Cabinet body assembly
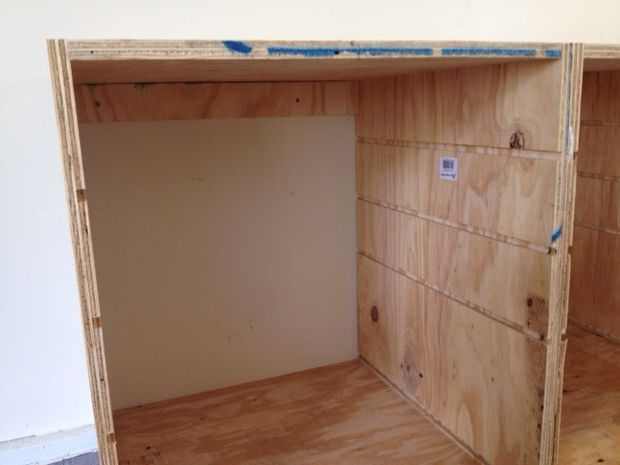
Each cabinet has two sidewalls, in which the sides are located symmetrically with grooves inward. They are screwed on top and bottom.
I did not make the back wall of the cabinets, as it will not be visible anyway. But at the same time, I secured the structure in the back top of the table with a 2 cm thick plywood strip, through which I will still fasten the table to the wall.
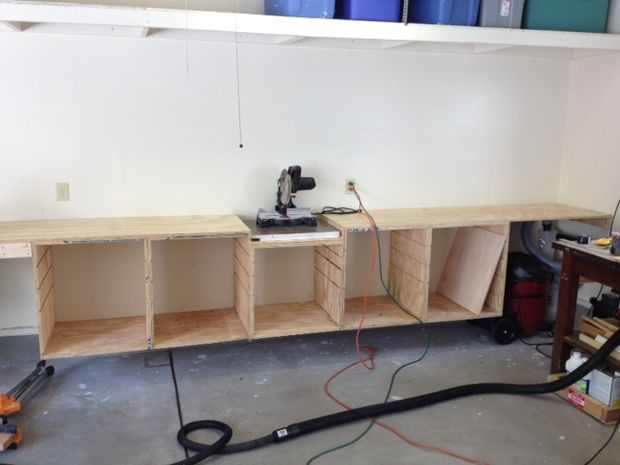
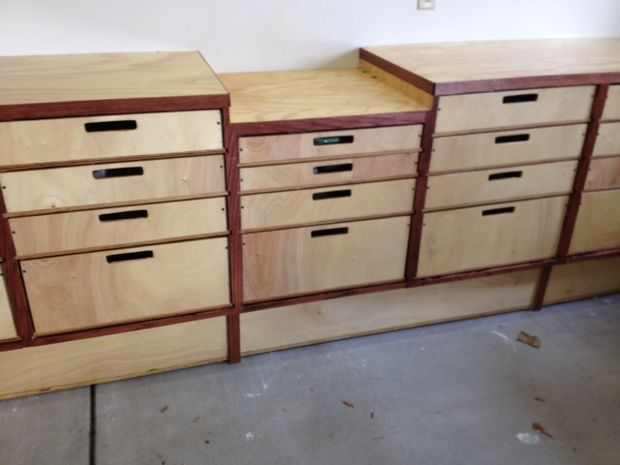
I needed a table to work with a miter saw, so I made one cabinet 8 cm lower than the other 4. In it, two drawers were made 8 cm lower.
After all five cabinets were assembled, I fastened them together and screwed them to the wall with screws. The whole structure is 25 cm from the floor surface.
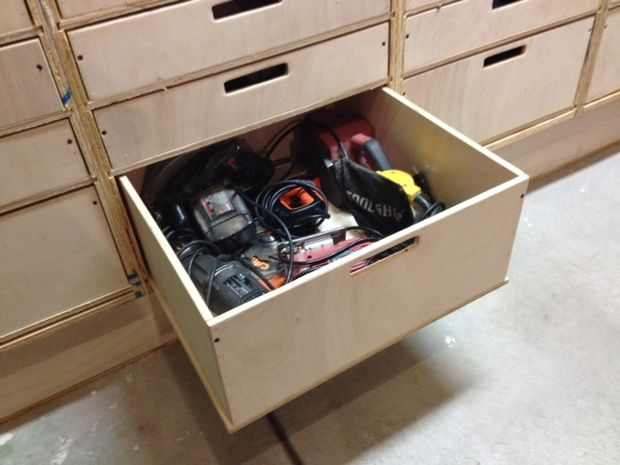
Because at the bottom there will be the largest drawers for long tools and fixtures. These boxes will rest directly on the concrete floor, and will be pulled out with the help of semi-circular bolt heads. Wheels can be used, but I have found that a pan head bolt slides nicely over a felt furniture sticker.
Installing the bottom on the boxes
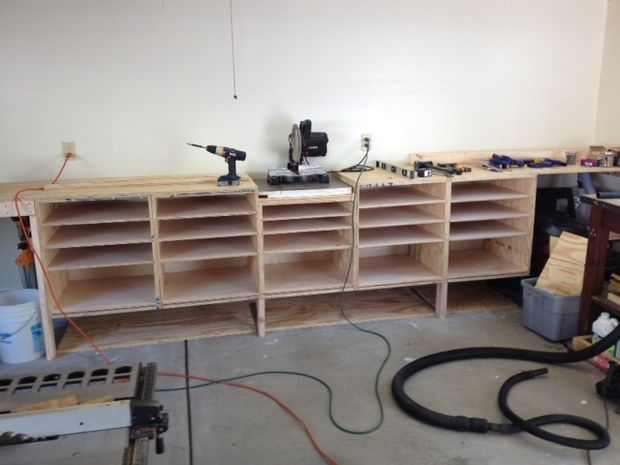
The drawers fit exactly the width of the cabinets. Using a sander, I slightly rounded the corners on the floor light so that the drawers fit into the grooves more easily. In some cases, it was possible to use a saw to remove up to 4 mm of excess material. Before attaching the bottom to the box, make sure that it fits freely into the grooves.
Assembling the rest of the boxes
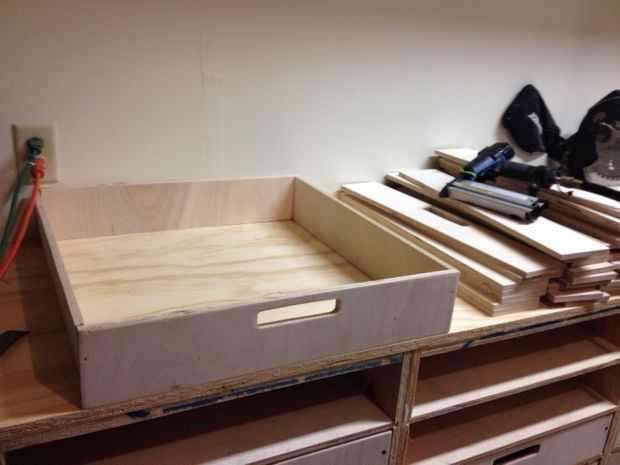
The sides, front and back of the drawers were made from 12mm plywood.
With the help of a milling cutter and a homemade device, I cut out handles in the front of the boxes.
Walked with a grinder through all the elements.
Next, with the help of nailer, I knocked all the parts of the drawers together, and screwed two screws on the front side for extra strength.
This stage was the longest as I had to cut, router and sand 112 pieces.
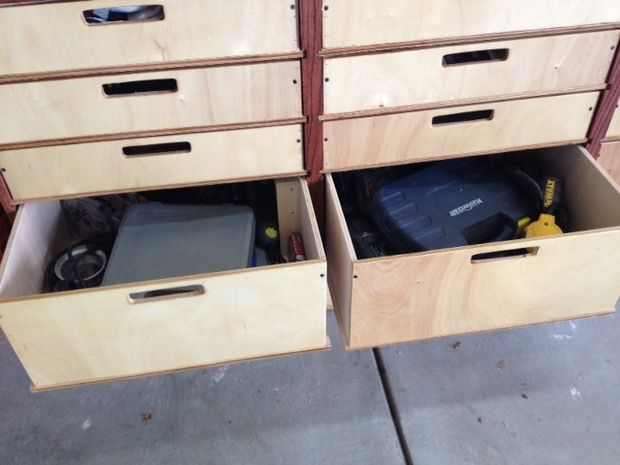
At the bottom I put the largest boxes. Two are 120 cm long and one is 60 cm long. The lower drawers are set deeper to provide space for the feet when working at the desktop. They are ideal for storing long tools such as clamps, blanks and vacuum hoses.
Installation of countertops

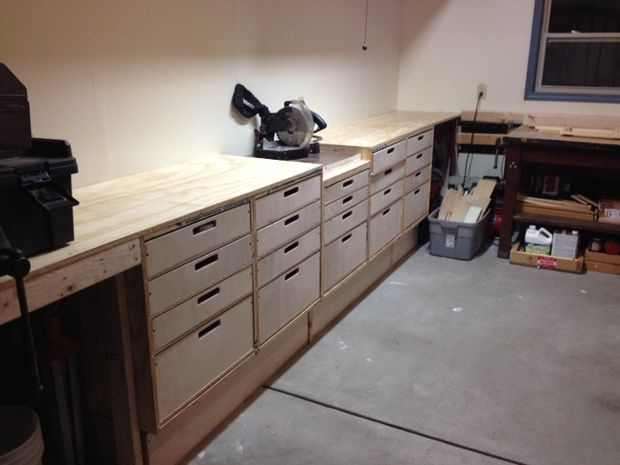
The tops were made from 20mm plywood that was screwed on top of the cabinets.
For the hinged parts, I made a frame from 5 x 10 mm boards and screwed plywood sheets to them on top.
Putting two layers of plywood on top, the tabletop turned out to be quite impressive. She can easily withstand my tesks.
Polishing
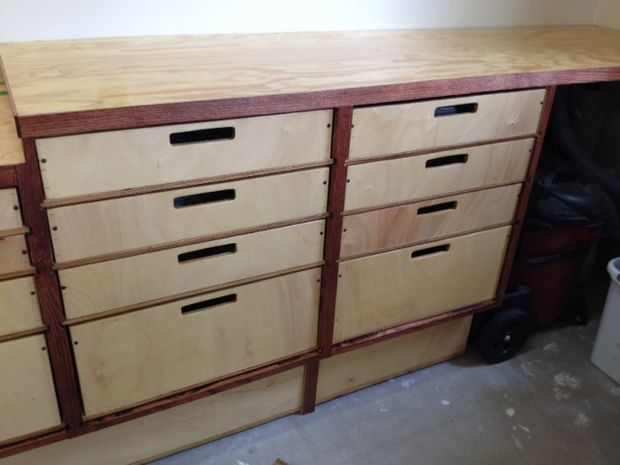
The entire top surface was sanded and I applied stain to the plywood.
I added a frame of red oak planks, which I also stained.
Next, I applied three coats of polyurethane varnish to all wooden surfaces.
Conclusion:
Now I can store tons of tools and supplies, and even got to throw out a few old baskets and drawers. I really like this desktop.
If I had a chance to make such a table again, I would like to resize some of the drawers. For example, I need more small ones that can be used to store small tools. While medium and large boxes would be enough for me in a couple of pieces. Therefore, before undertaking work, I recommend thinking about this issue.
