How To garden chairs and a table — all by hand


It would seem that it is difficult to connect several boards together? But in reality, it takes a lot of time. At least it’s not in my nature to do something stupid. Therefore, I began by searching the Internet for a design that I would like.
First, I drew patterns on graph paper.
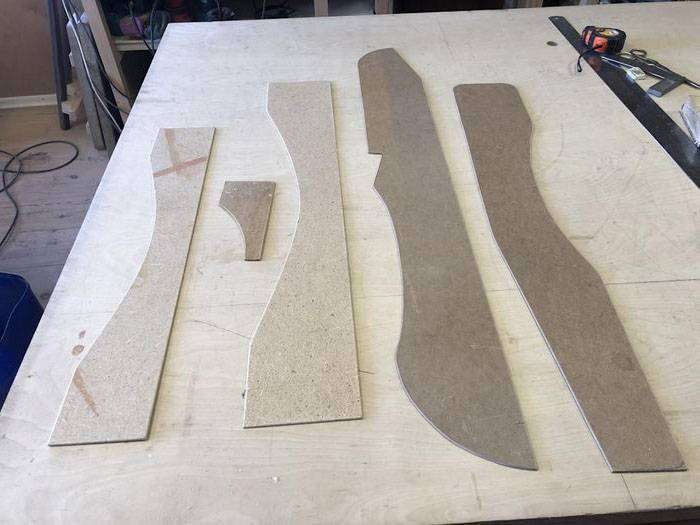
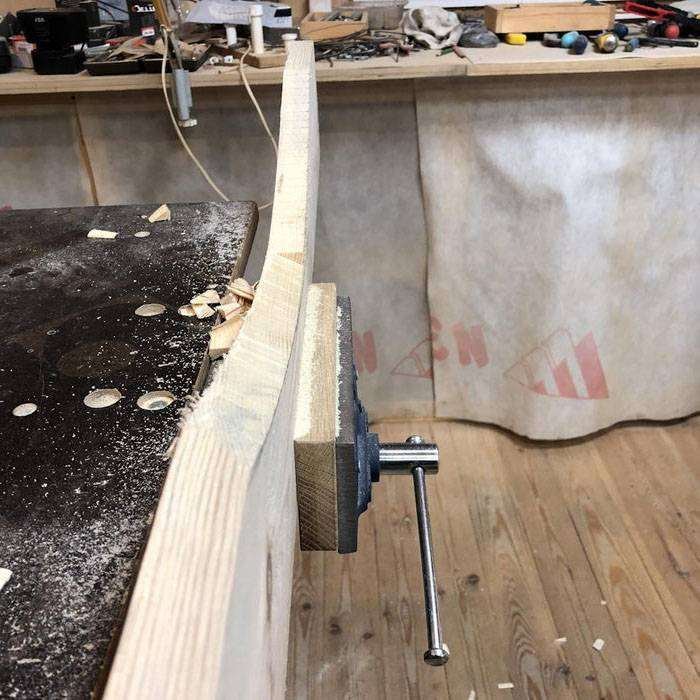
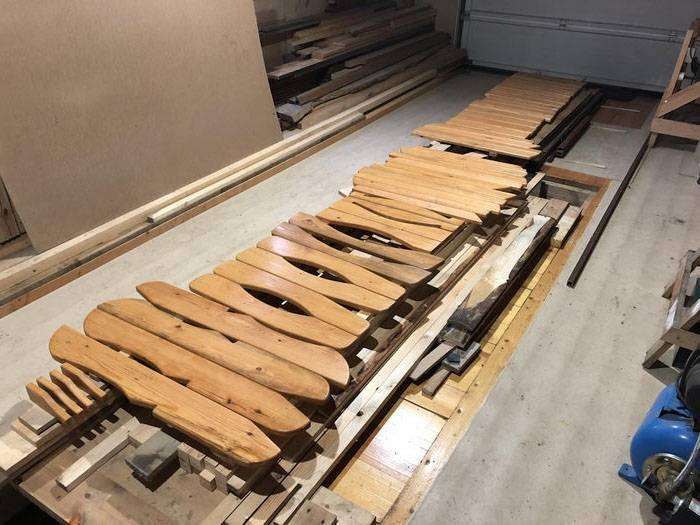
The next step is to make templates. To do this, I took a «folder», i.e. fiberboard. I transferred the patterns to the fiberboard and cut it out on a ribbon.
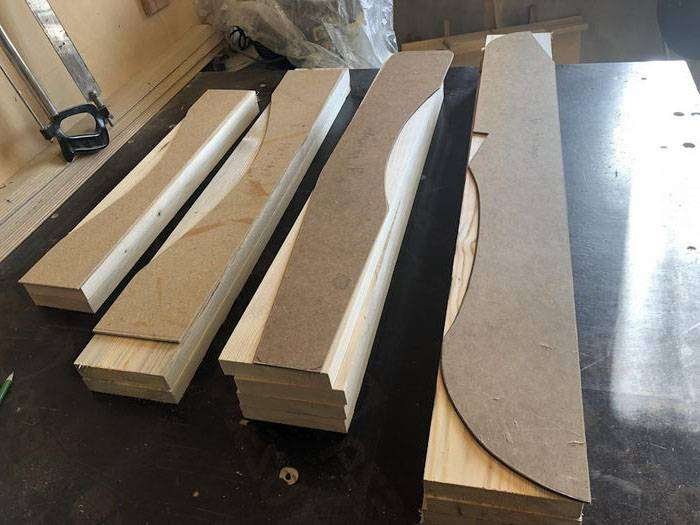
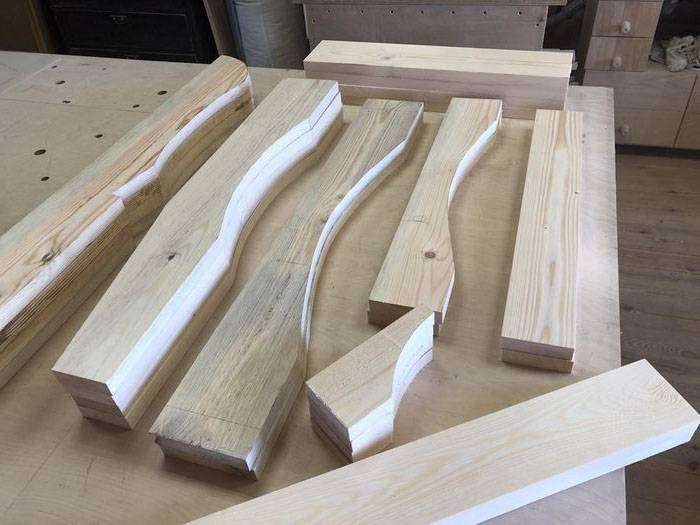
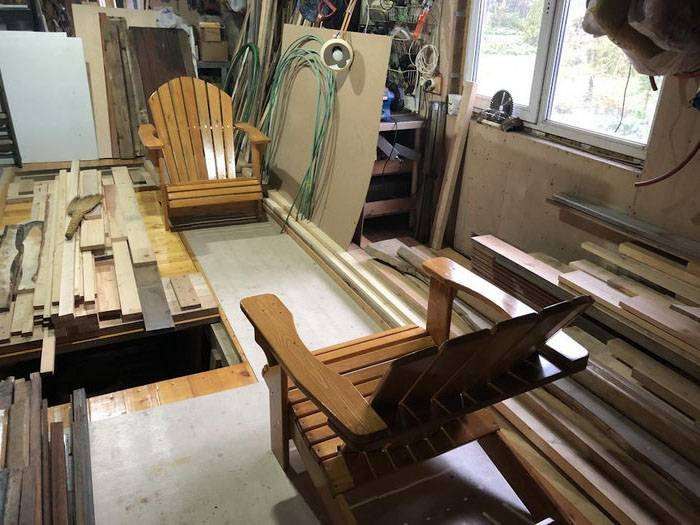
The main material is a board 25×125. Almost like a project. I selected the boards, planed on a thickness gauge, transferred the details according to the templates, cut them on a ribbon.
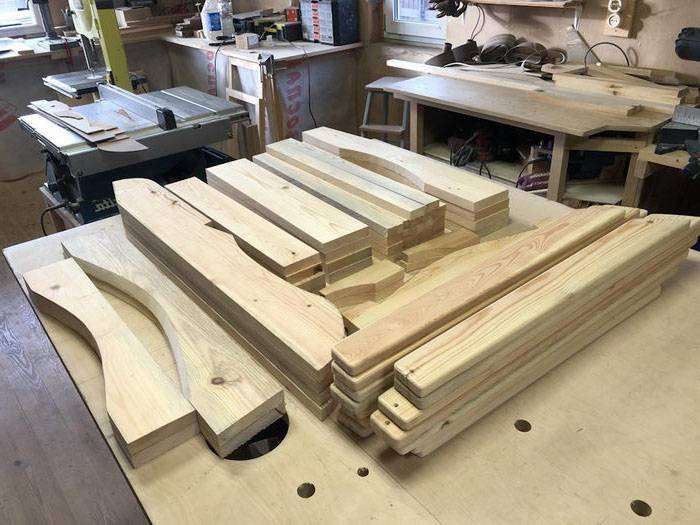
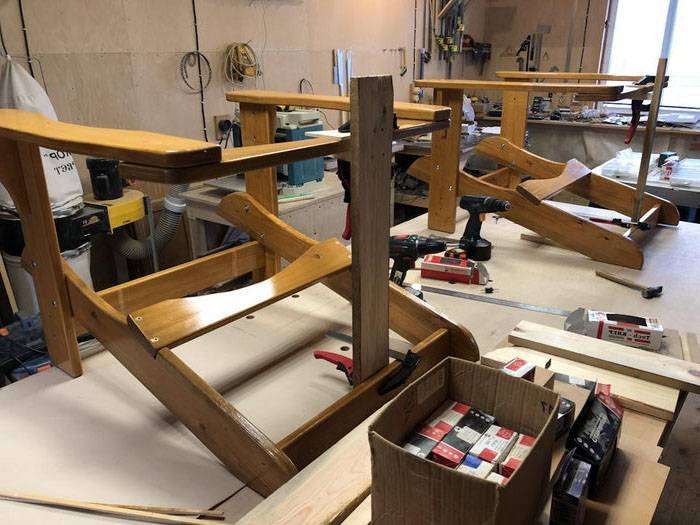
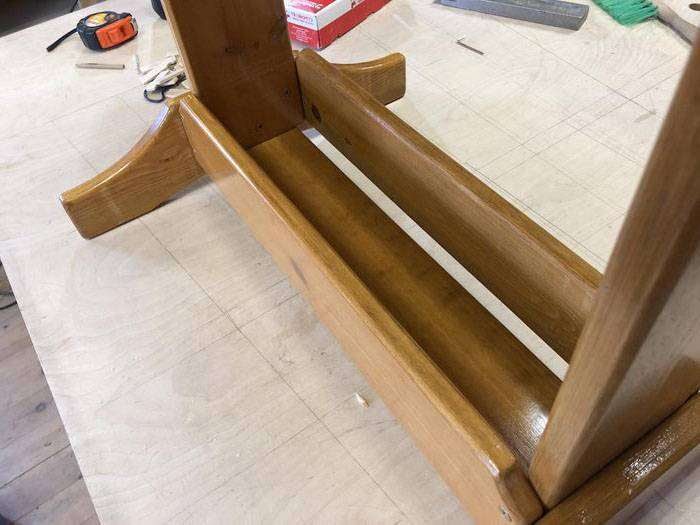
Assembled in draft to understand where you need to run in chamfers with a cutter. All the projects that I looked at are assembled on self-tapping screws. After all, this is not a living room chair. So, I will use any fasteners for fastening — furniture bolts, external self-tapping screws will be anodized torxes, invisible galvanized.
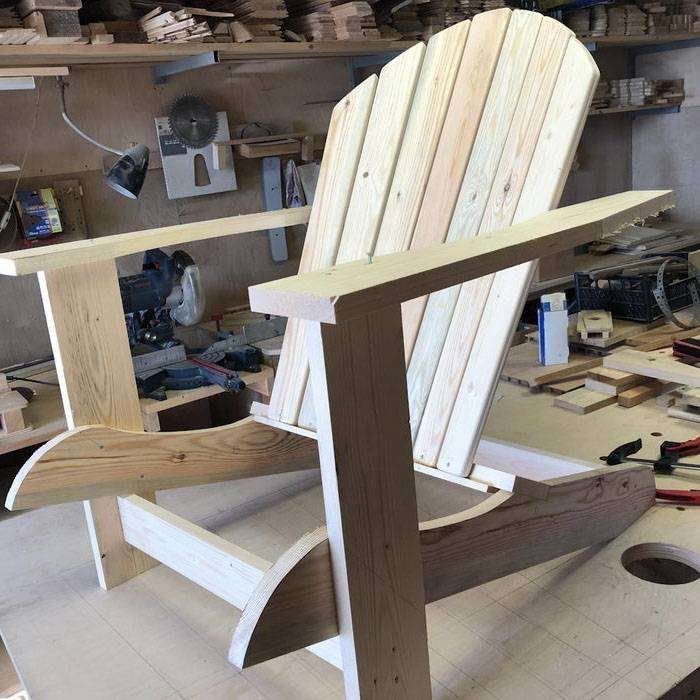
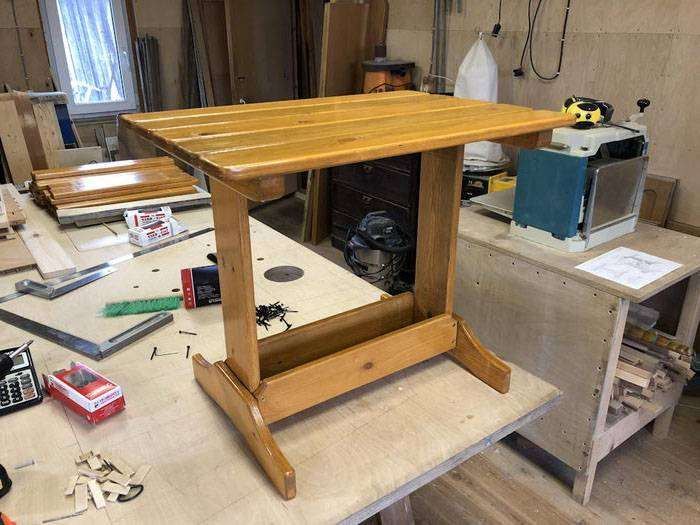
The next step is painting all the details from all sides. Glazing antiseptic, larch color.
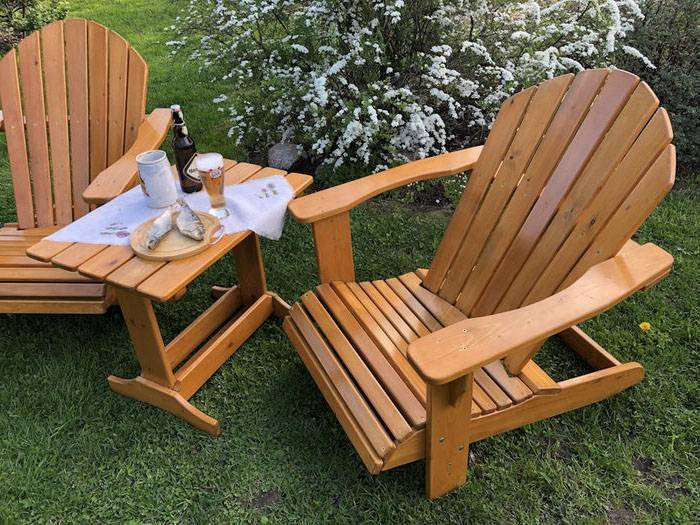
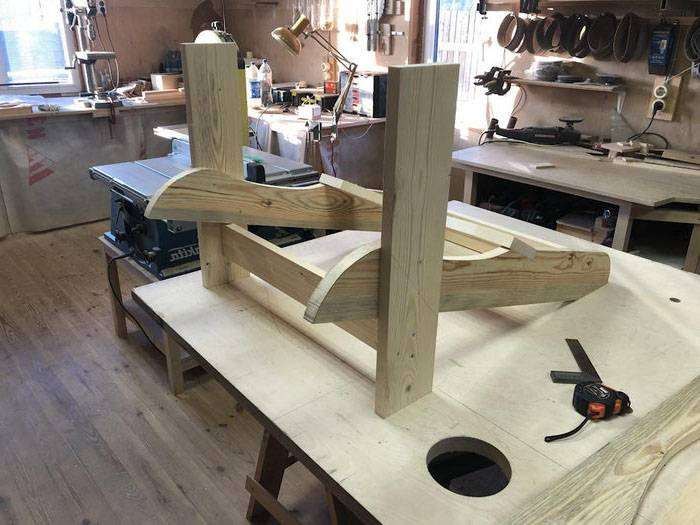
I started to collect in the workshop. And in time I measured the dimensions of the assembled Adirondack. It turned out that the finished chair would not fit through the door of the workshop. Therefore, I collected it in the garage, which is through the wall from the workshop.
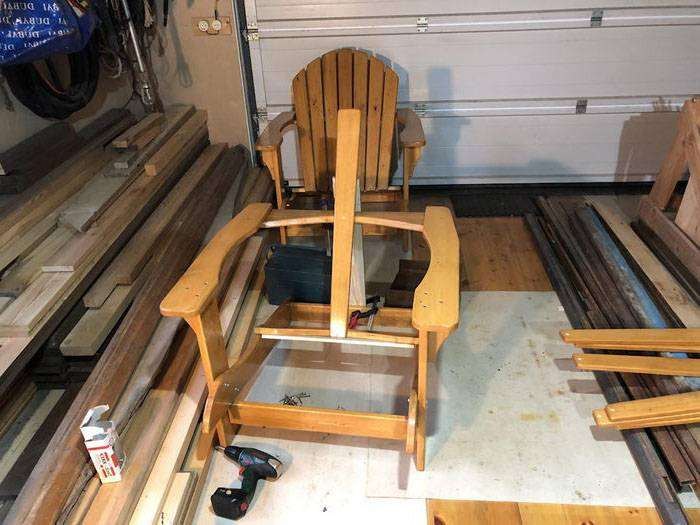
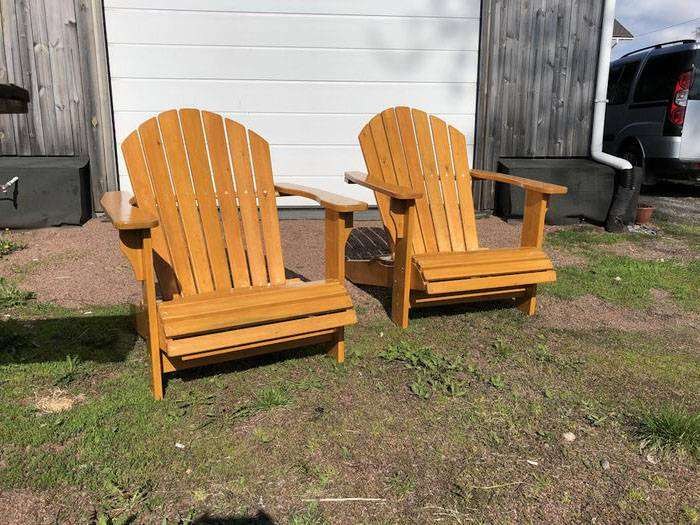
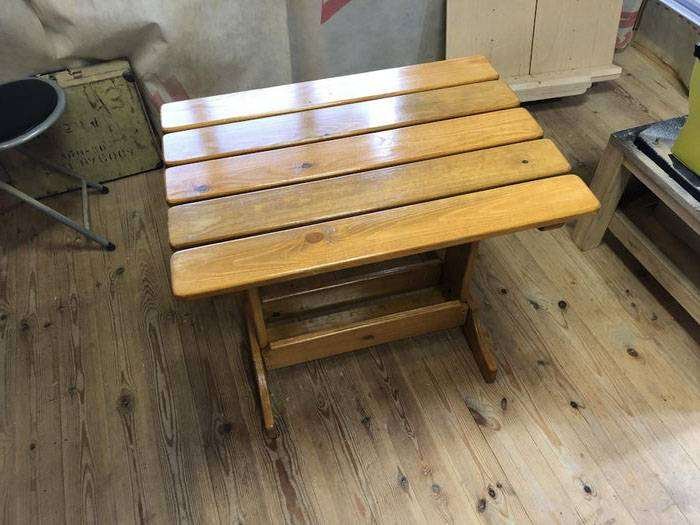
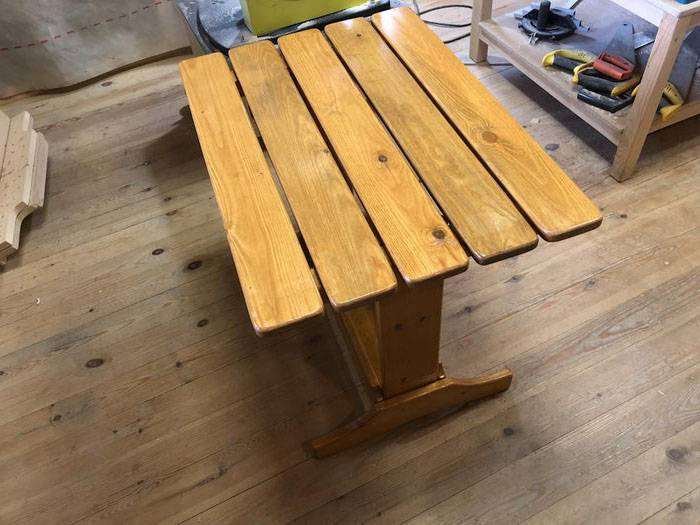
Collected, put near the garage door. Immediately caught my eye — there is not enough table.
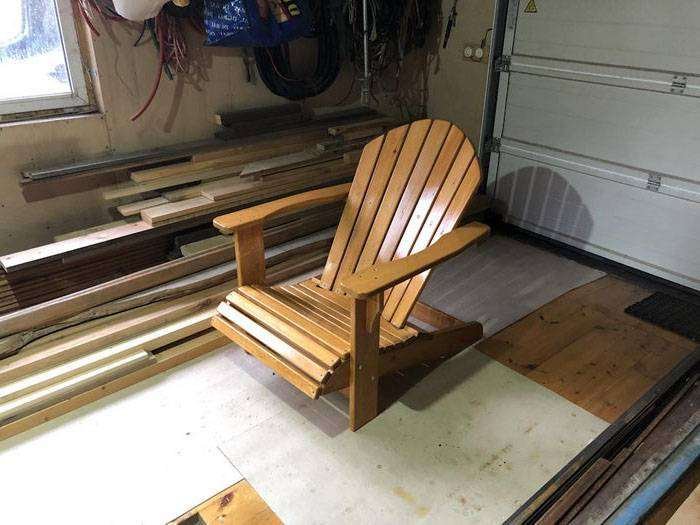
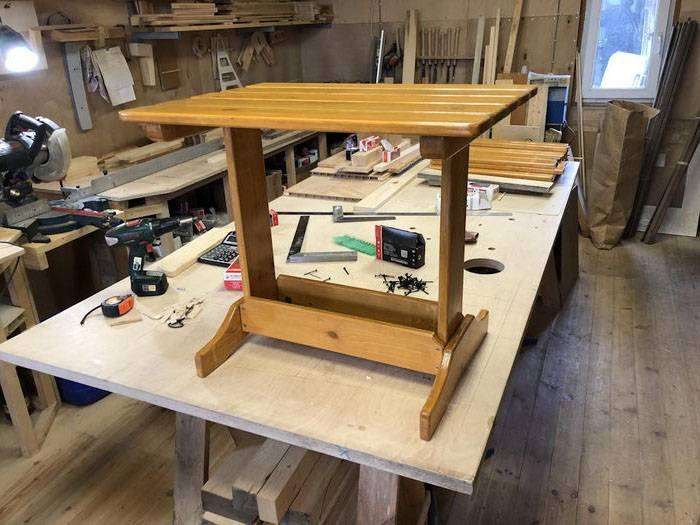
Well, I ask for a table in the studio.
Easy to sit down, easy to get up. Resting!